

Create Your First Event
Creating an event is a guided three-step setup: Basics, When & where, then Review & create. You'll have an event in a few minutes — it's created as a draft that buyers can't see yet, with a setup checklist that walks you through everything left before you publish. (Already have a flyer? Click Start from your flyer at the top of the wizard and the details are filled in from it for you to check. Already on Eventbrite? Import from Eventbrite pulls in details, tickets, and your banner in seconds.)
Step-by-step
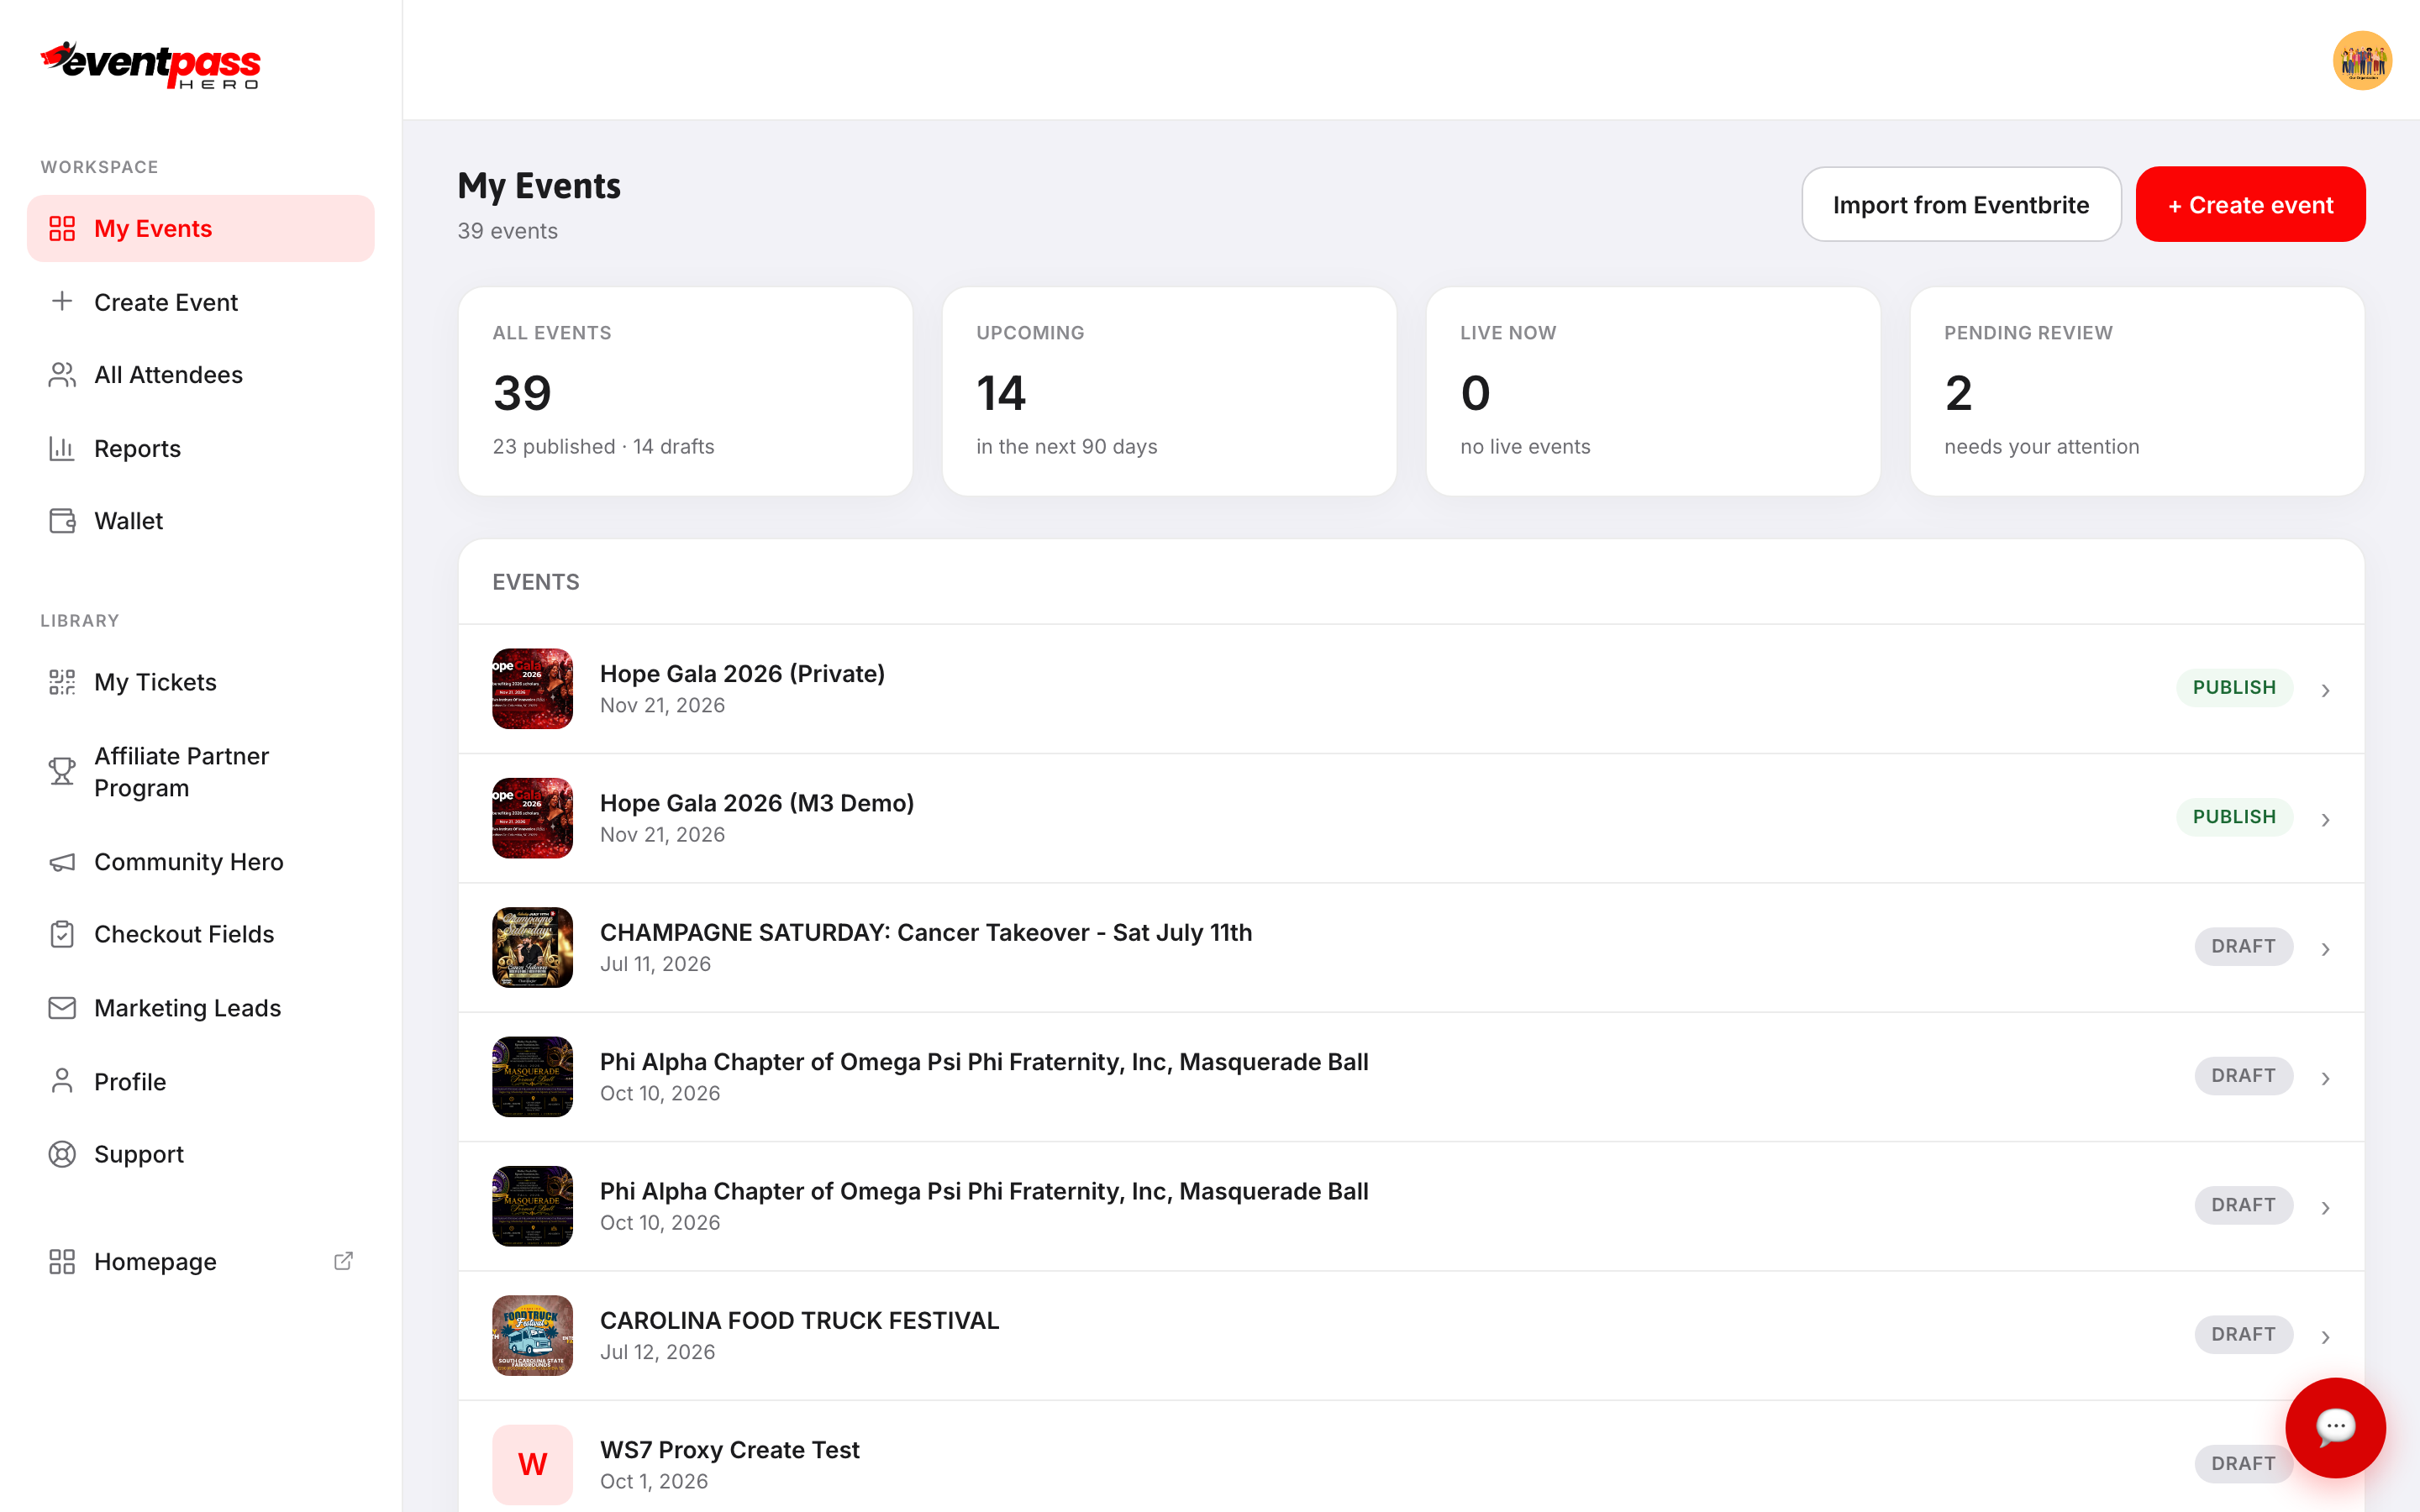
- 1. From your dashboard, click Create Event in the sidebar (or the + Create event button on My Events).
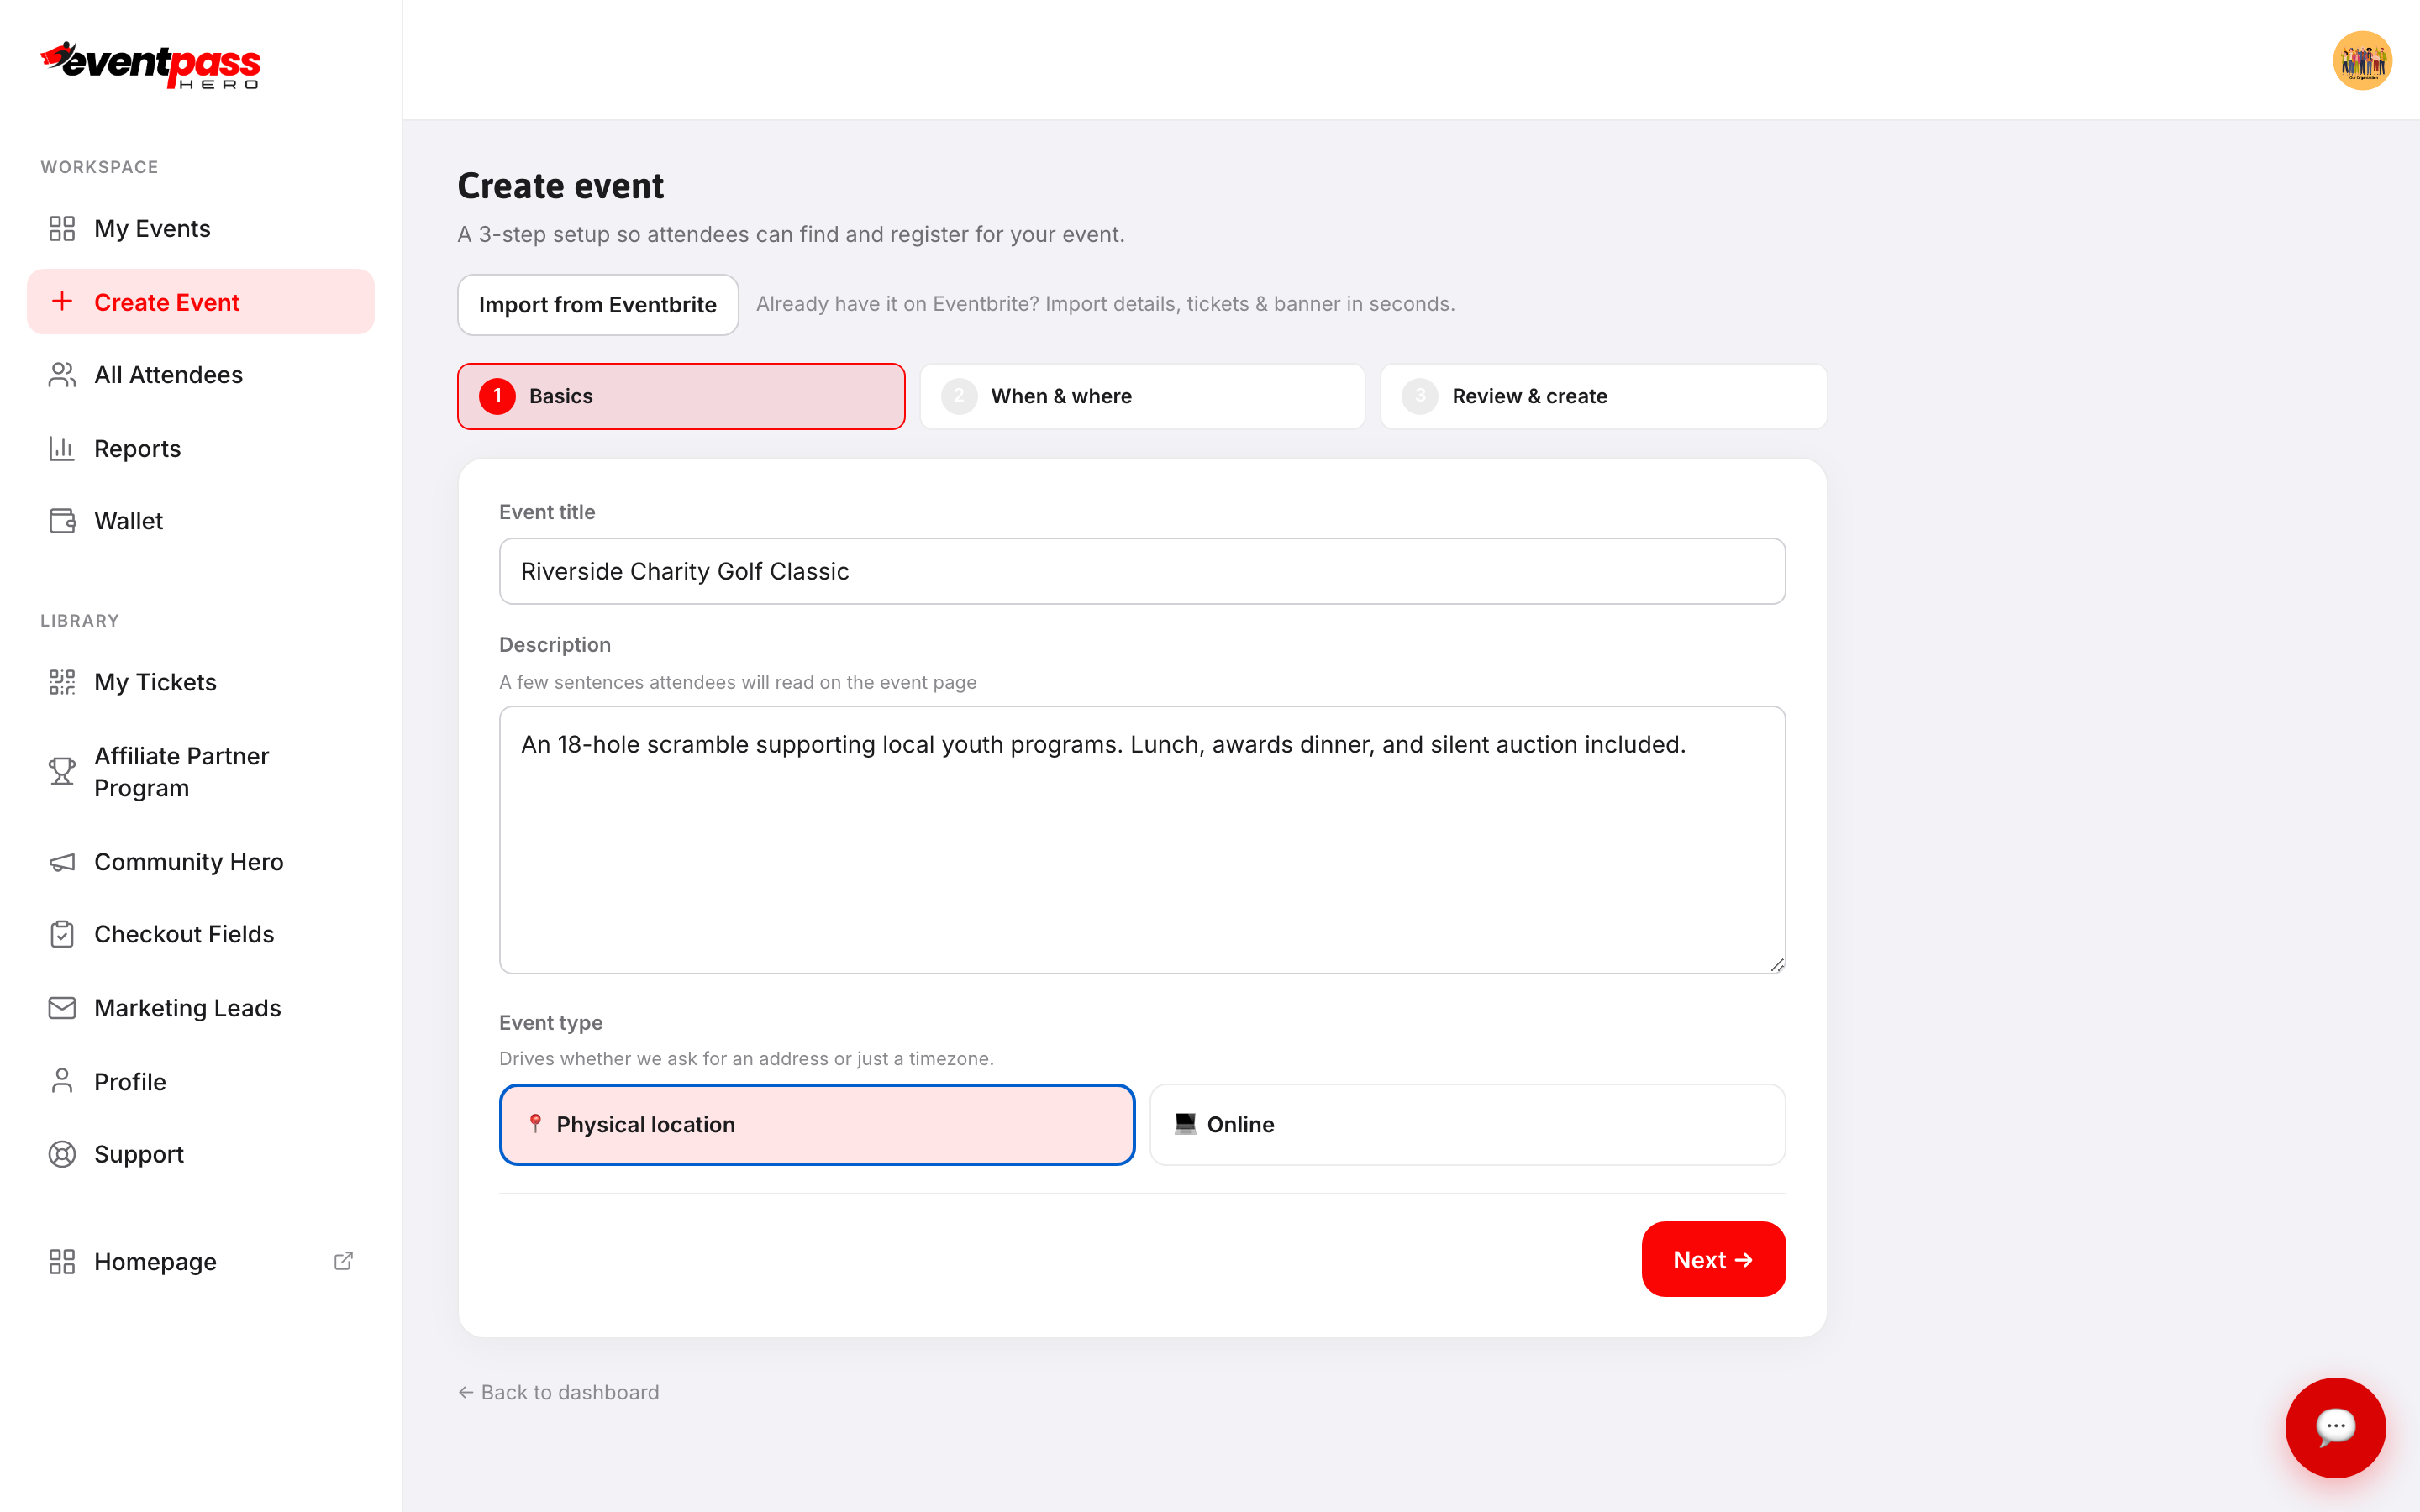
- 2. Step 1 — Basics. Name your event, write a few sentences attendees will read on the event page, and pick the event type: Physical location or Online. The type drives whether the next step asks for an address or just a timezone. Click Next.
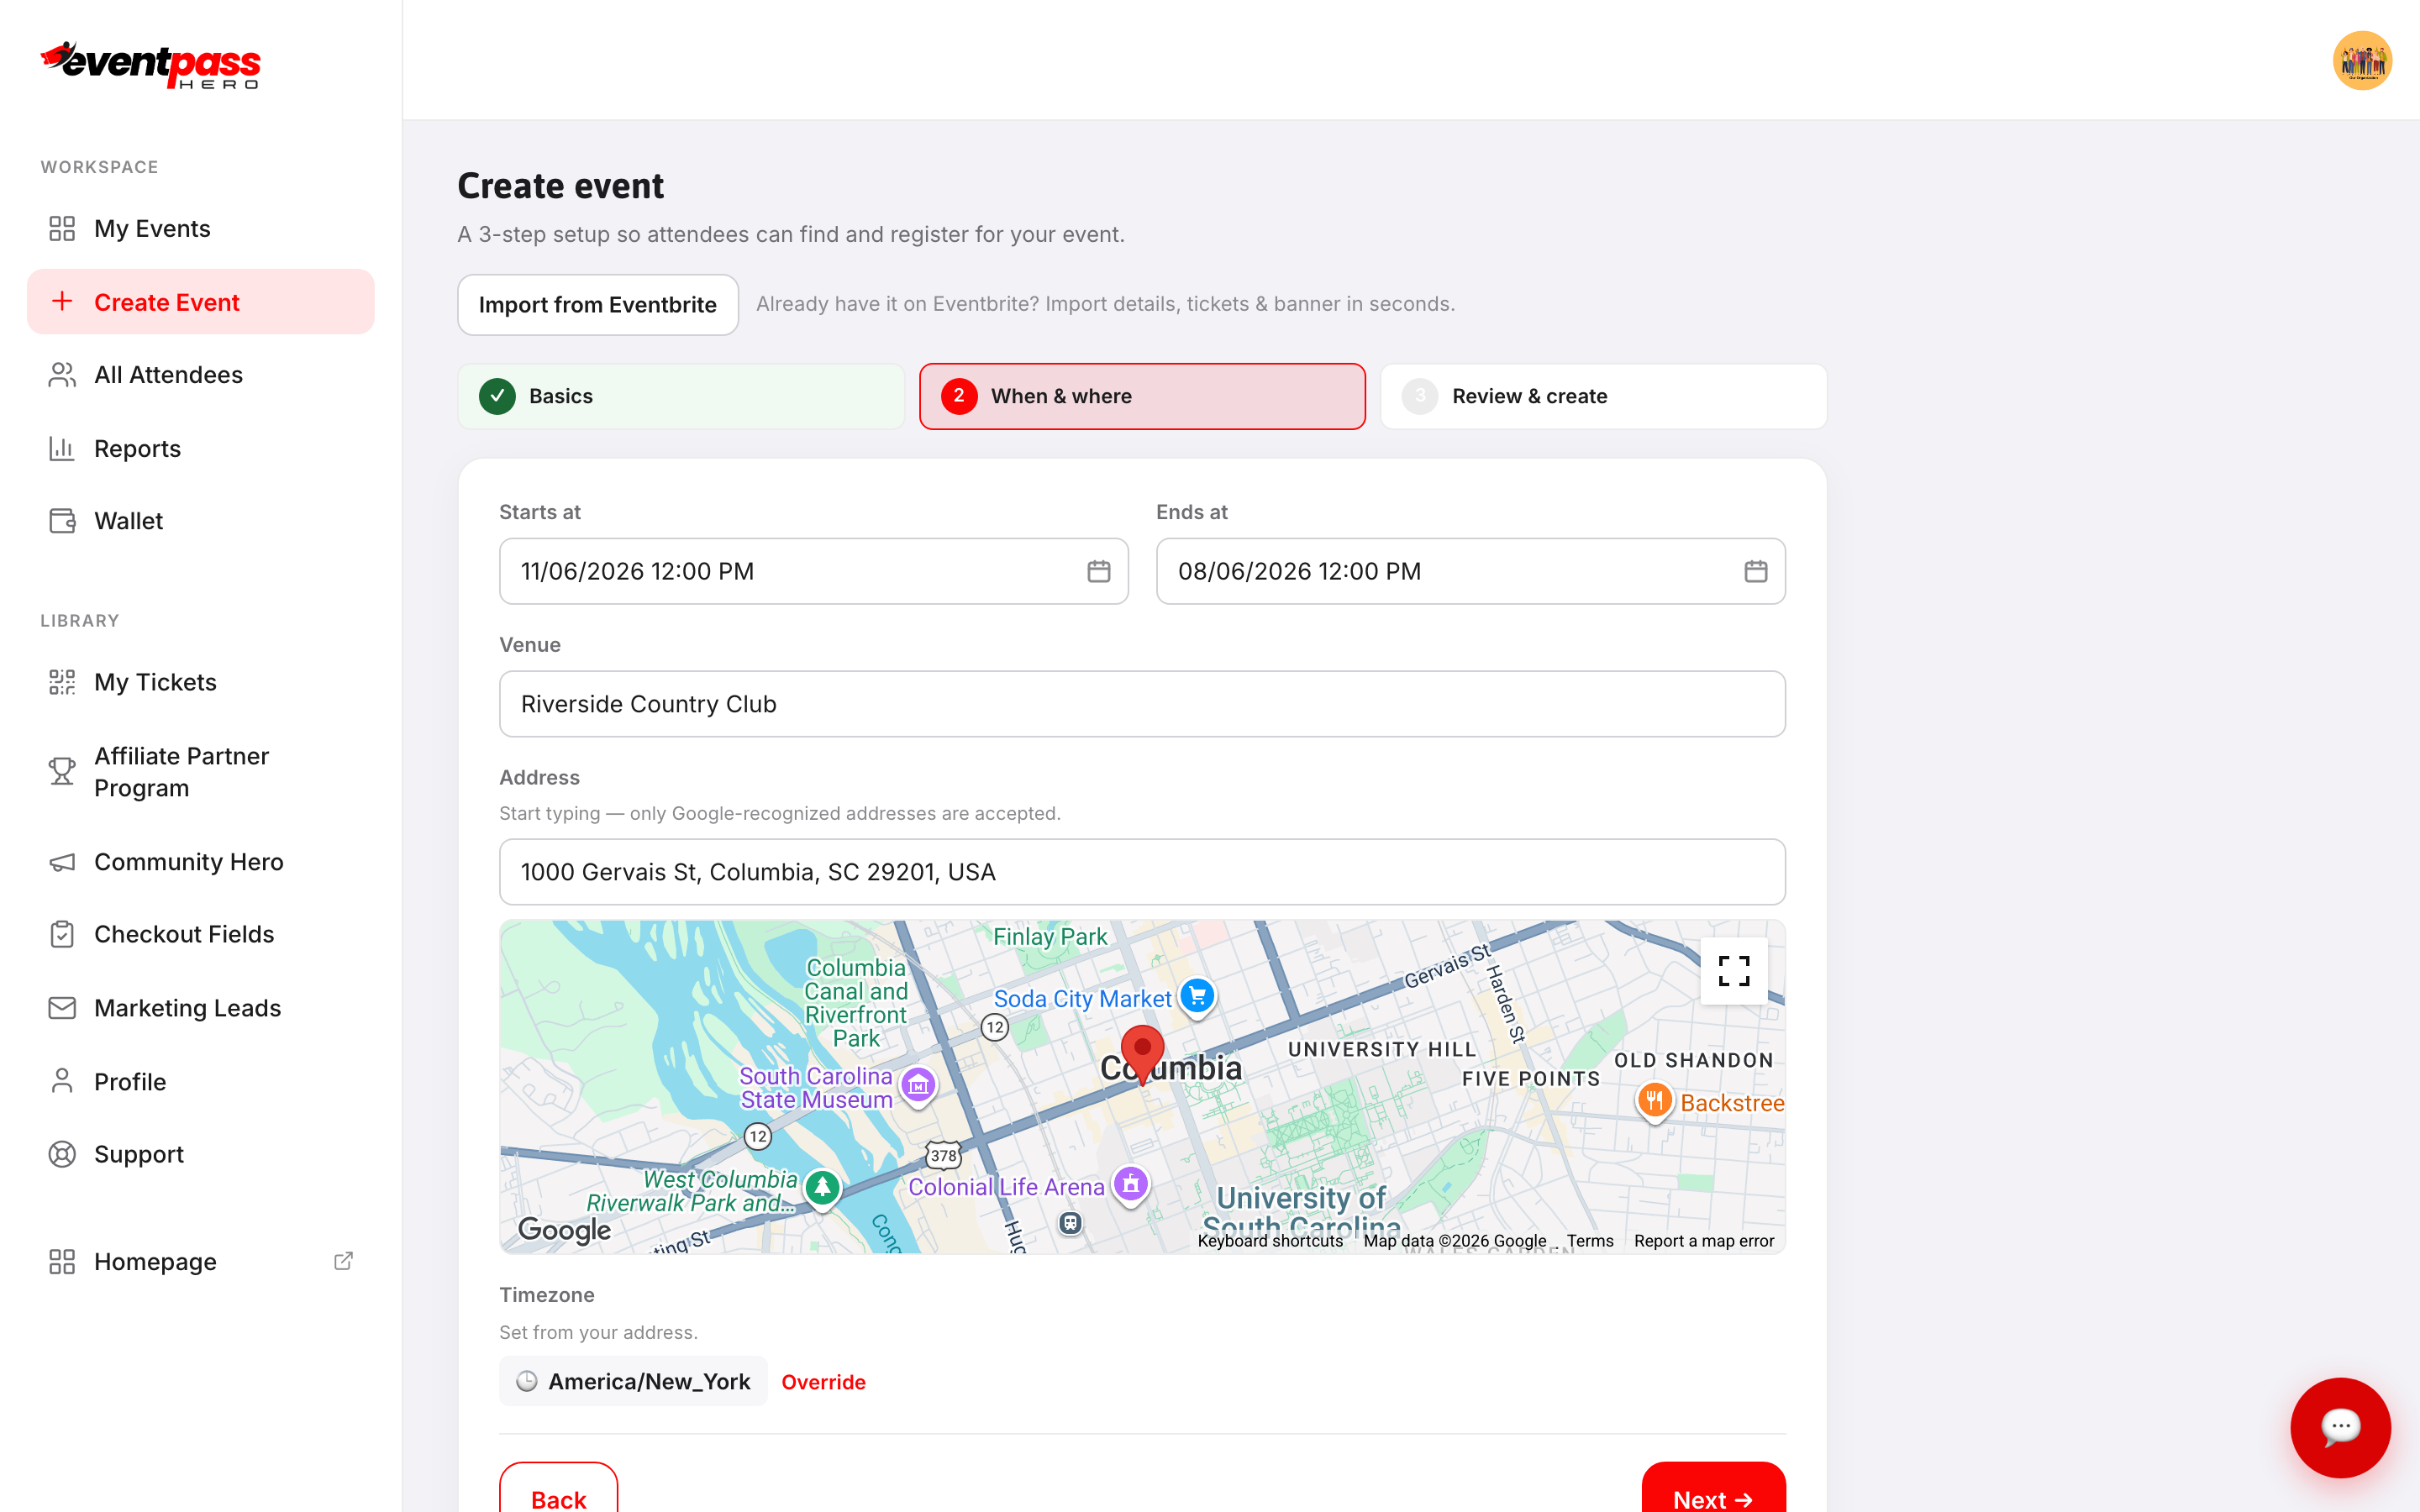
- 3. Step 2 — When & where. Set the start and end date/time, name your venue, and type the address — pick it from the Google suggestions (only Google-recognized addresses are accepted). Your timezone is set automatically from the address, with an Override if you need it. Click Next.
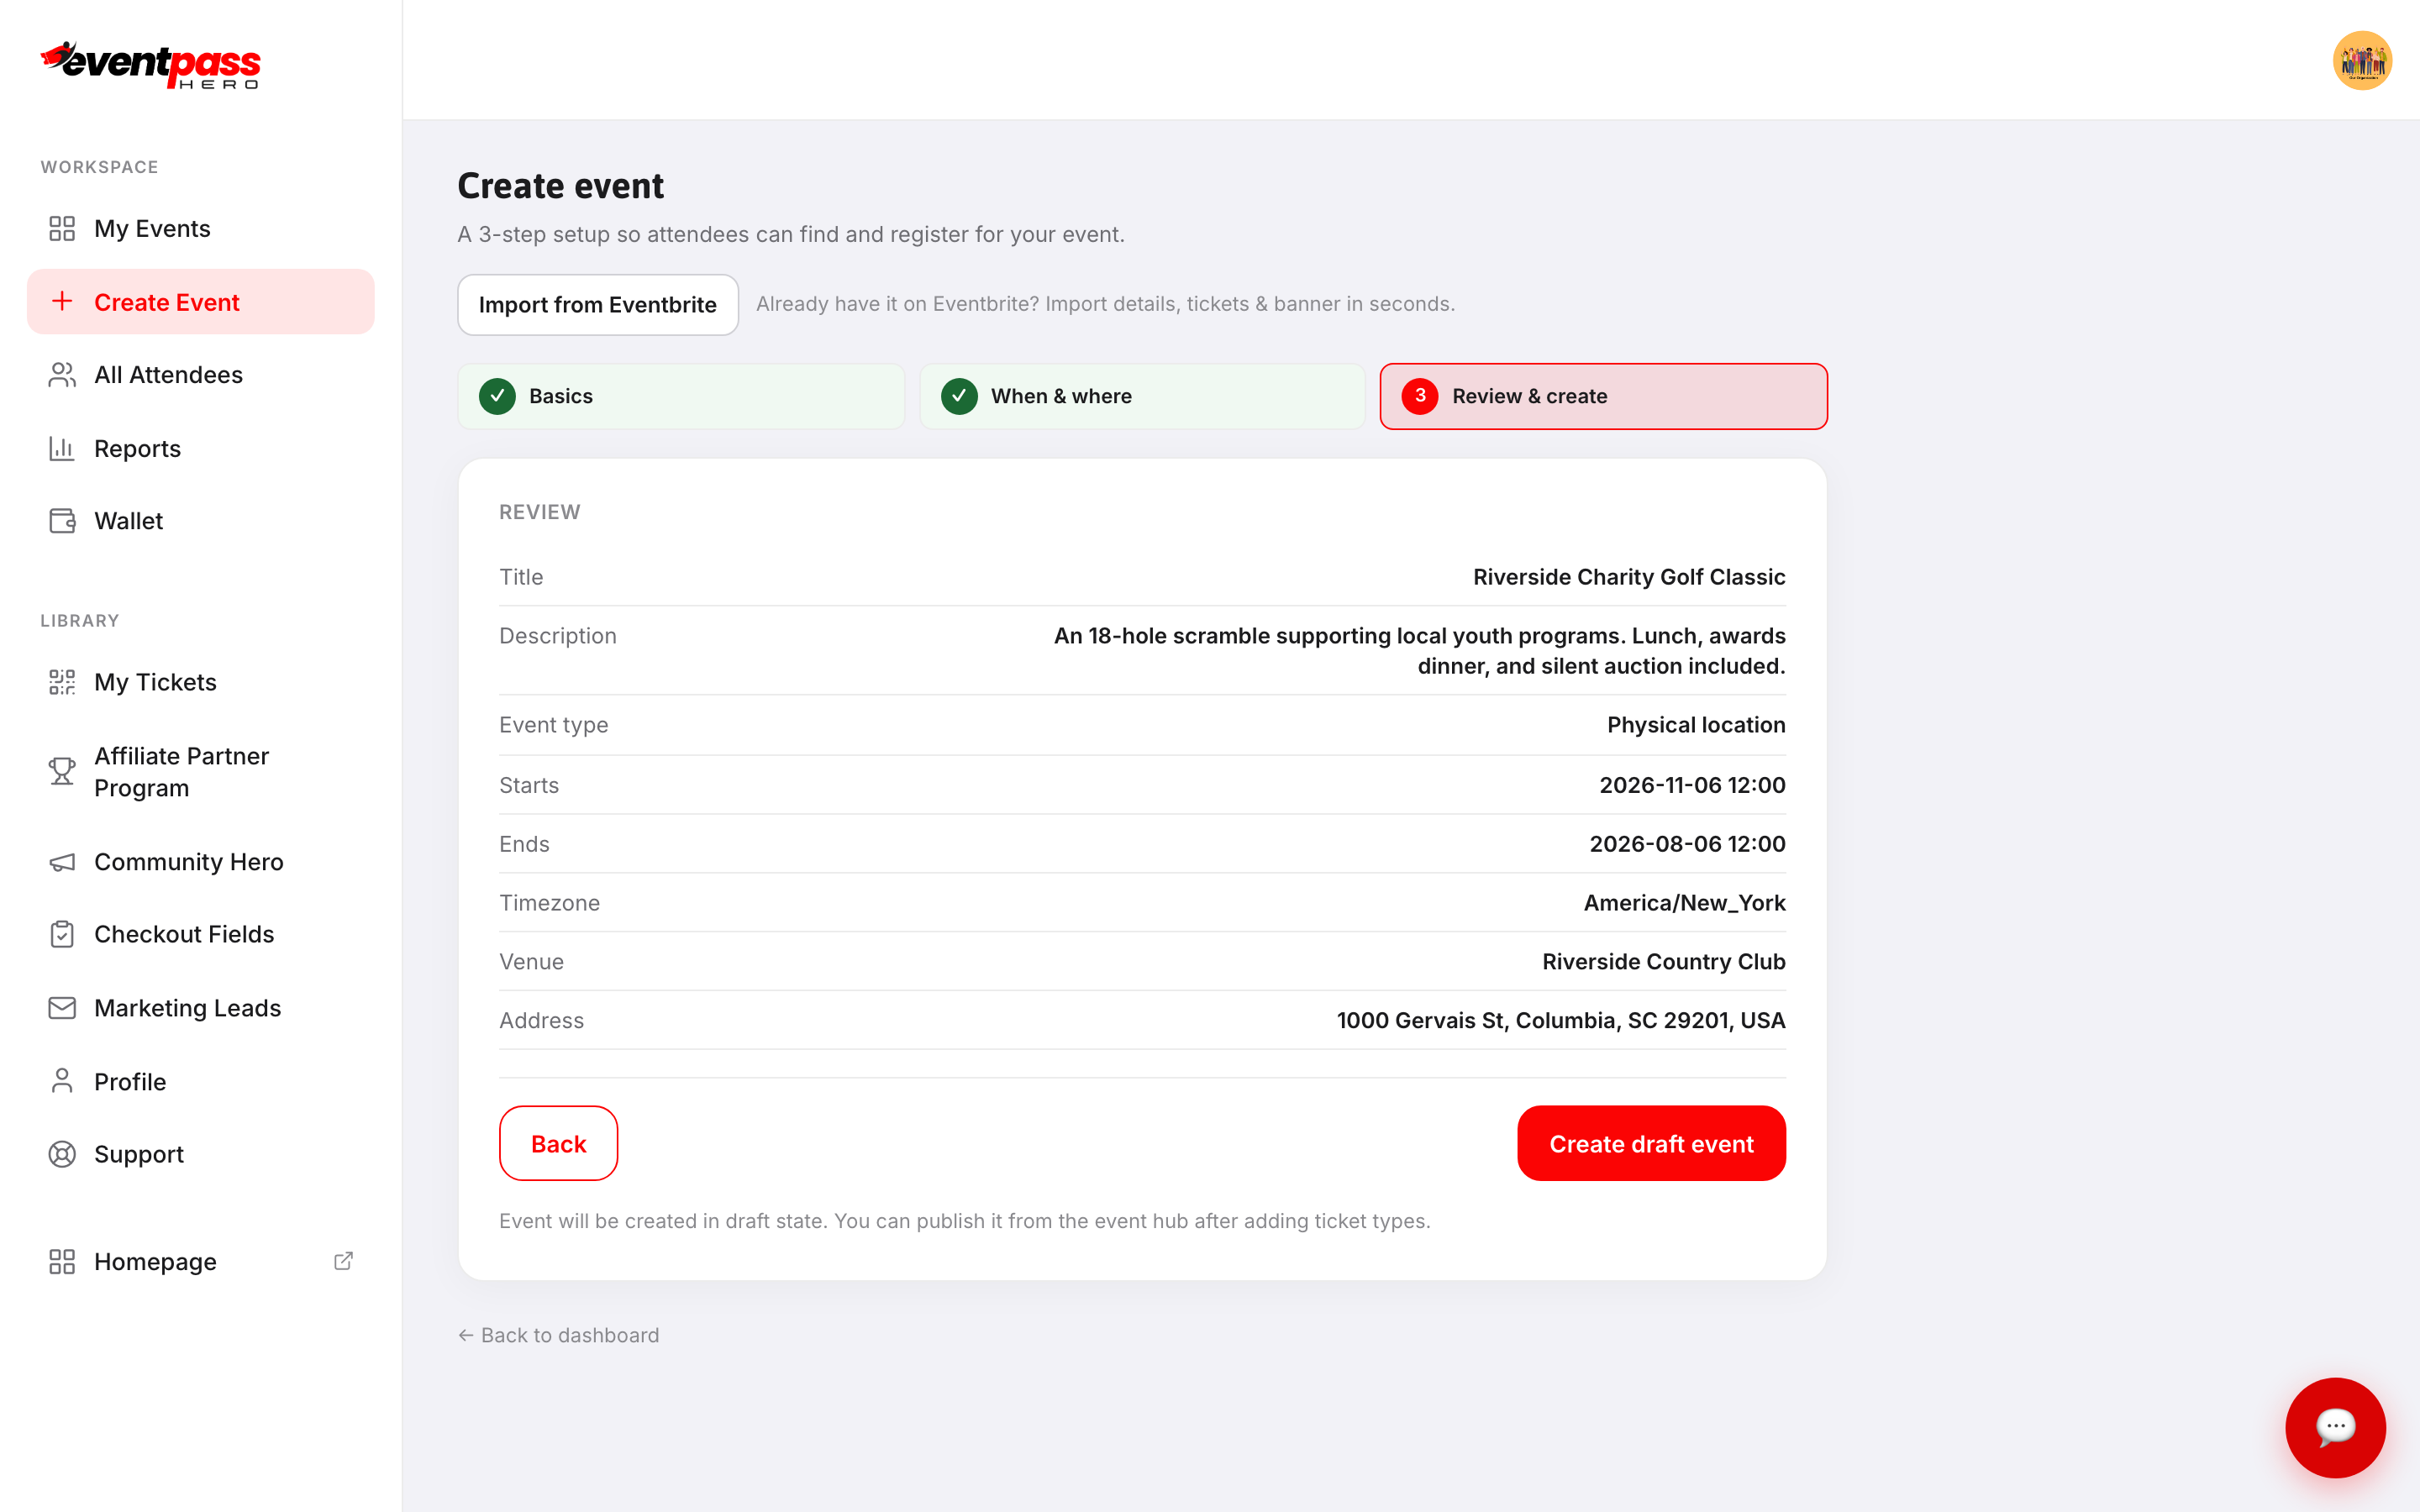
- 4. Step 3 — Review & create. Check the summary of everything you entered, then click Create draft event.
What happens after you create it
Your event opens in its own hub, in Draft status — not visible to buyers yet. A setup checklist shows exactly what's left (upload a banner, define a short link, set up ticket types), with a progress meter toward publishing. From here you can Preview Event, copy its link, or grab a QR code, and the sidebar gives you every tool: tickets and seating, coupons, FAQ, sponsors, check-in, marketing, and reports.
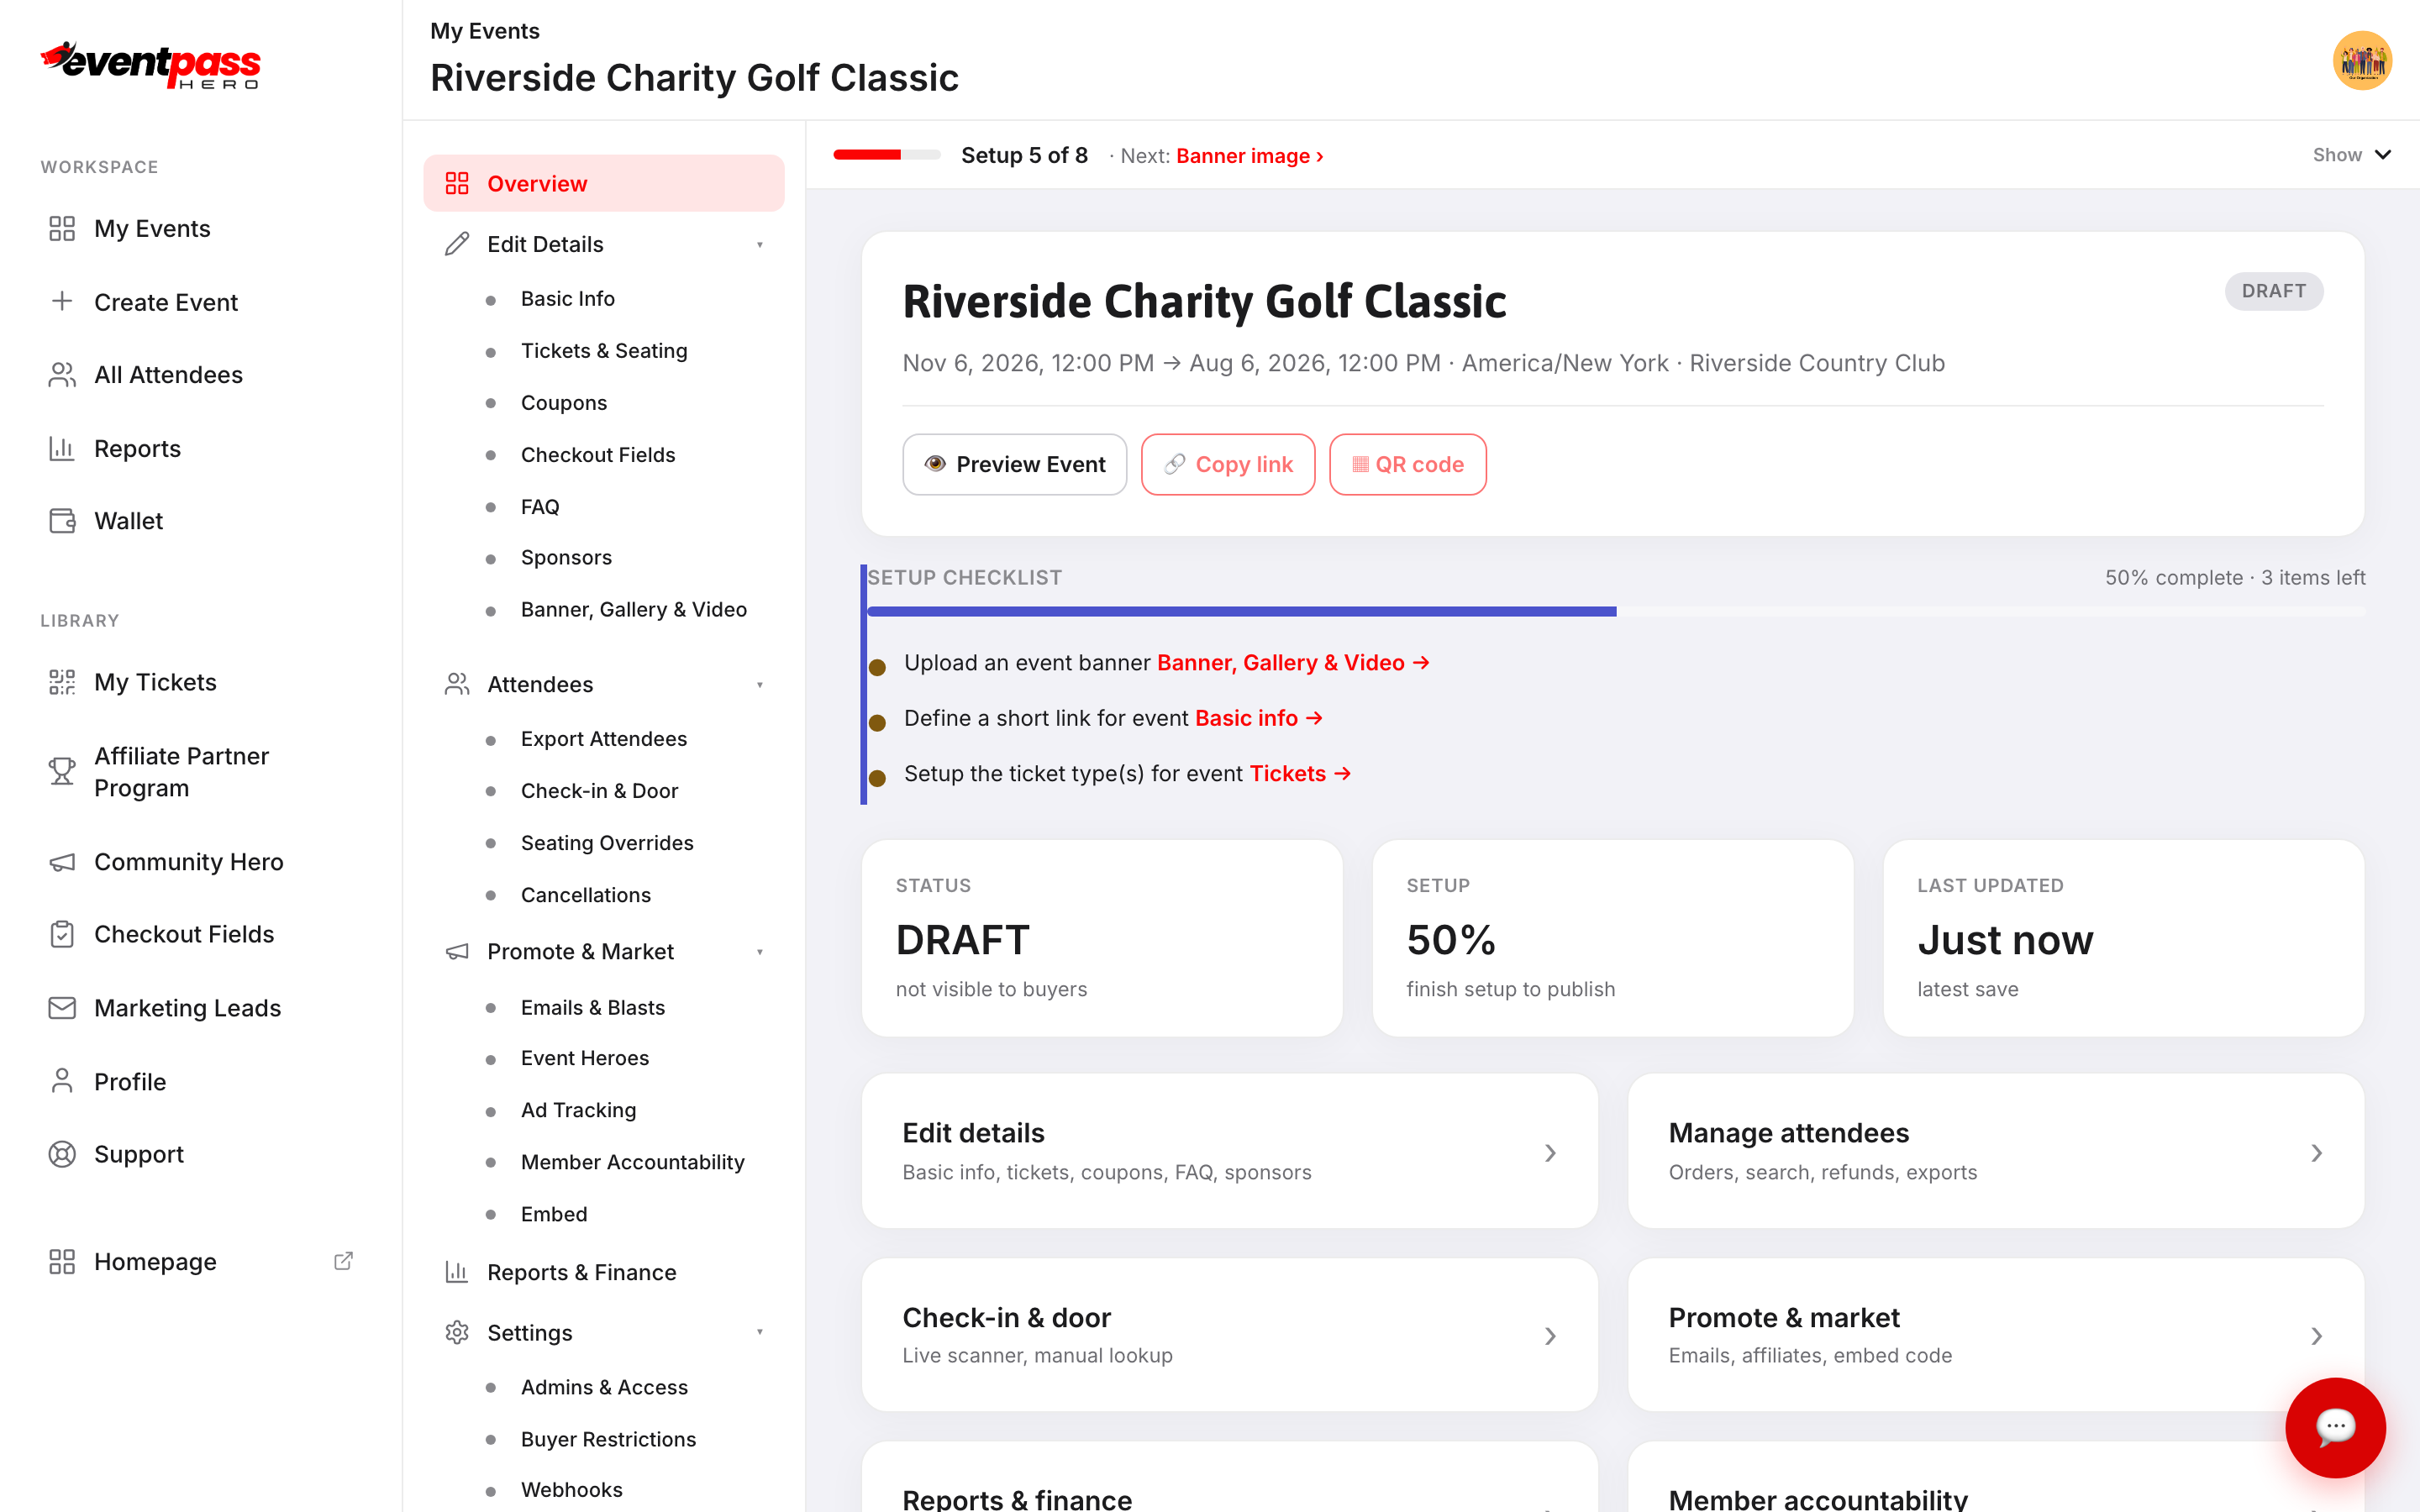
Two things to do next:
- 1. Add ticket types — you publish from the event hub after tickets exist.
- 2. Connect Stripe if any tickets are paid — see Connect Stripe and get paid.
Troubleshooting
- "Start date is required." — the date fields use the calendar picker; click the field and choose the date rather than typing free-form text.
- "Address is required for in-person events." — the address must be selected from the Google suggestion list, not just typed. Start typing, then click the matching suggestion.
- Wrong timezone — it's derived from the address; use Override on the When & where step if your event runs in a different zone.
Last updated 2026-10-11 · All FAQs & video tutorials