
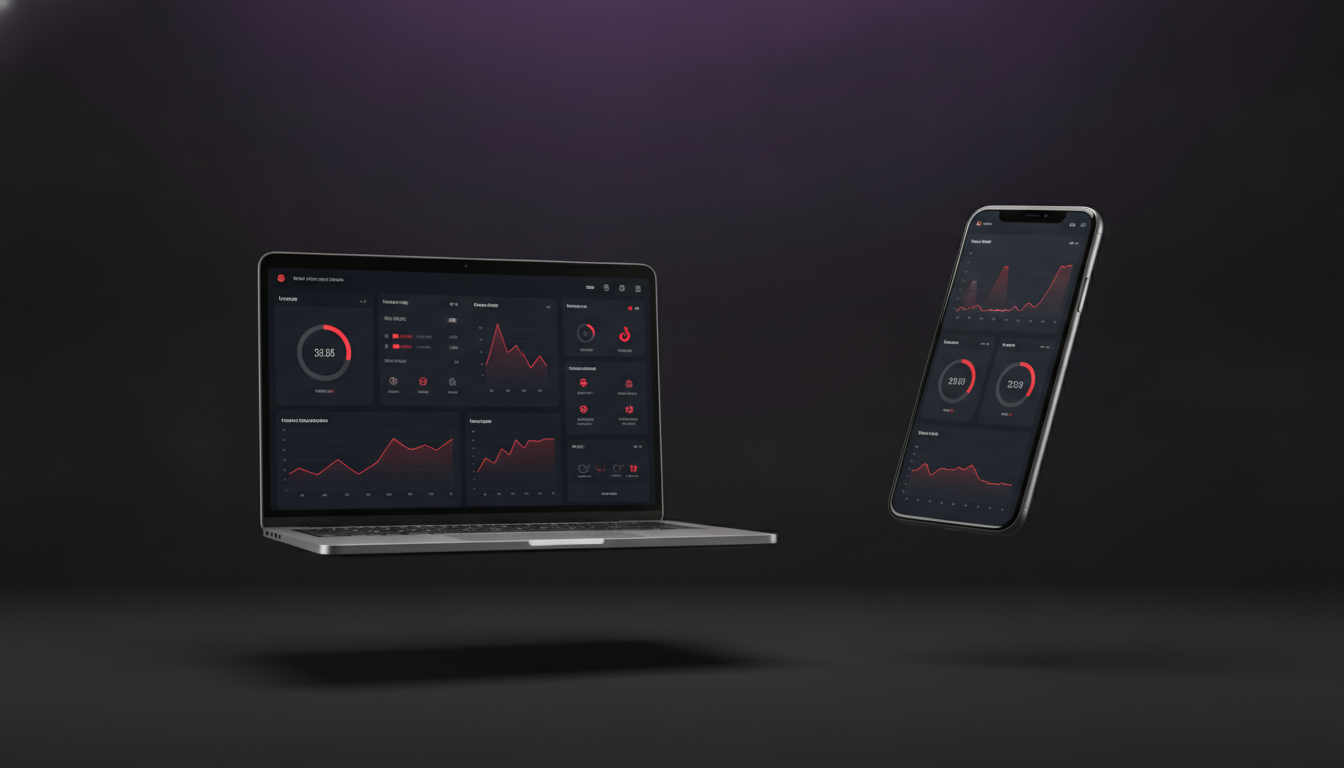
You just signed up, you’re staring at your event organizer dashboard for the first time, and there’s a quiet little voice going: okay… where do I actually click? Deep breath. Nothing here is going to bite you, and by the end of this quick tour you’ll know exactly what every corner of the screen does.
Think of your dashboard as mission control for the whole operation — your at-a-glance numbers, the list of every event you’re running, and the toolbox for building and managing each one. You don’t have to master it all today. You just need to know where things live so you never feel lost.
The three areas of your event organizer dashboard
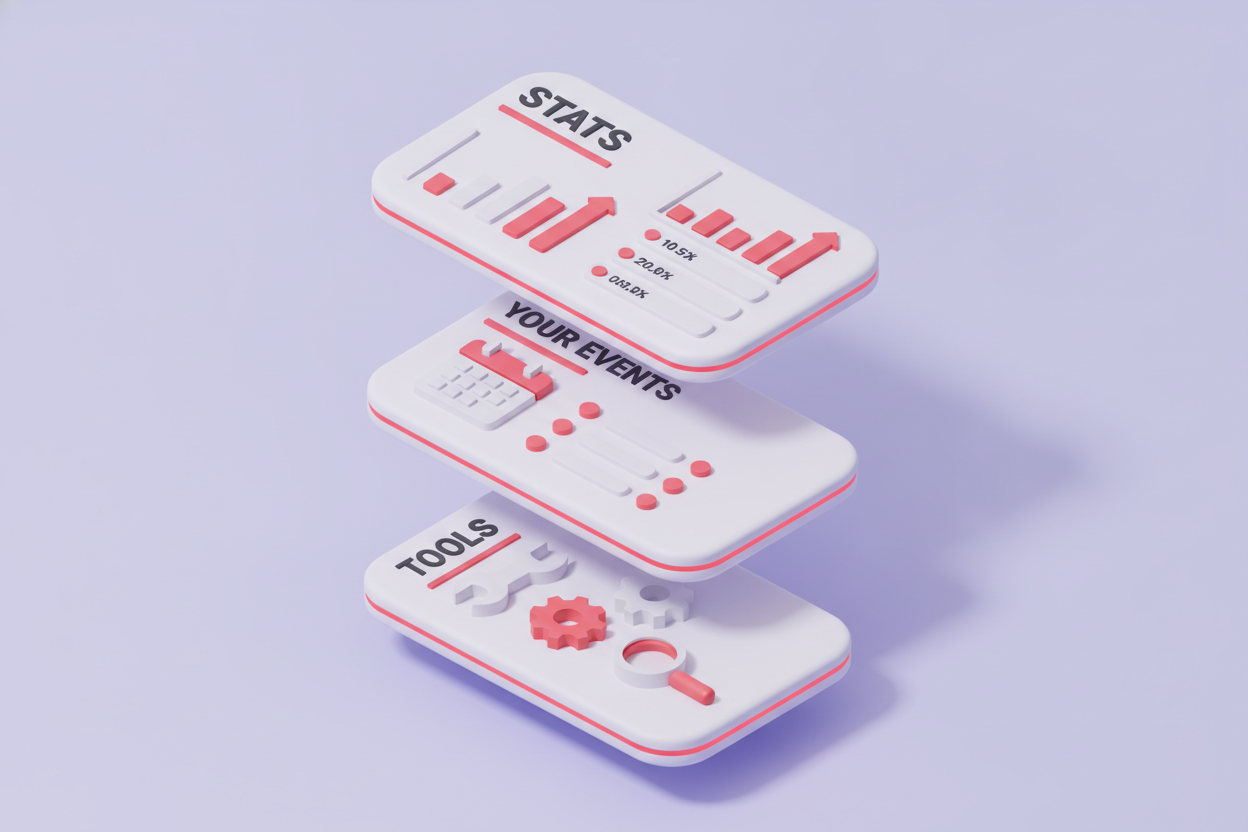
Almost everything you’ll do lives in one of three places: the stats up top, your events list in the middle, and the workspace tools that open when you step inside a single event. Learn those three zones and the rest is just detail.
1. At-a-glance stats: your numbers, without the digging
The top of your dashboard is where the headline numbers live — tickets sold, revenue raised, orders, and how each event is tracking. It’s the first thing you see when you log in, so you get the pulse of your event in about two seconds flat, no spreadsheet required.
You don’t have to do anything to make these appear — they update on their own as tickets sell. A Sunday-night gut-check is as simple as opening the page and reading the top row.
You shouldn’t have to build a report to answer “how are we doing?” — the answer should be sitting right there when you log in.
2. Your events list: everything you’re running, in one place
Below the stats is your list of events — every gala, day party, scholarship dinner, and mixer you’ve created, live and draft alike. Click any one to step inside and manage it. Starting fresh? There’s a Create Event button right here that drops you into the setup wizard.
The setup wizard walks you through the essentials in plain language — event name, date, location, banner image, ticket types and prices — one friendly step at a time. No blank page to stare down, no jargon. Answer the questions and you’ve got a publishable event page at the end.
Live & draft events One-click create Guided setup wizard No tech skills needed
3. The workspace tools: everything to run a single event
Click into any event and the workspace opens up. This is the toolbox — a set of tabs down the side that hold every lever for that one event. You won’t touch all of them for every event, and that’s fine. Here’s the lay of the land.
Tickets
Create ticket types, set prices, add coupons, and control how many of each you sell.
Seating
Map your room, sell tables and reserved seats, and let guests pick their own spot.
Marketing
Send email and SMS blasts, add coupons and promo codes, and share your event link.
Member Accountability
Give each member a tracking link, set sales goals, and watch a live leaderboard.
Reports
Dig into attendees, orders, and payouts, and export clean records for your treasurer.
Team & access
Add admins and scan-only door staff, and email the numbers to your board as report recipients.
An organizer app for event day — optional, in your pocket
Most of your setup happens on a laptop, but event day happens on your feet. There’s an optional organizer app for iOS and Android so you can check people in, scan QR tickets at the door, and glance at your live numbers without lugging a laptop to the venue. It’s a companion to the dashboard, not a replacement — use it if it helps, skip it if it doesn’t.
Automated reports for your board
Here’s a favorite for chapters and nonprofits: you can add board members, advisors, or your national office as automated report recipients. They get your sales and accountability numbers — progress, payouts, who’s selling — emailed to them on a schedule, without a login and without the ability to change your event or move your money. Transparency for them, control for you.
Common questions
Is there an organizer app for iOS and Android?
Yes — EventPassHero offers an optional organizer app for both iOS and Android. It’s built for event day: check attendees in, scan QR tickets at the door, and see live sales numbers from your phone. It’s a companion to your dashboard, so it’s entirely optional to use.
Do I need technical skills to use the dashboard?
No. The event organizer dashboard is built for organizers, not developers. The guided setup wizard walks you through creating an event in plain language, and every workspace tool is point-and-click. If you can fill out an online form, you can run your event here.
Can board members see reports without editing my event?
Yes. You can add board members, advisors, or your national office as automated report recipients. Your sales and accountability numbers — progress, payouts, who’s selling — get emailed to them on a schedule, so they stay in the loop without a login and without any way to change your event settings or touch your funds. Full transparency without handing over the keys.
What’s in the setup wizard?
The setup wizard covers the essentials to get an event live: event name, date, and location; a banner image; and your ticket types and prices. It moves one step at a time, so instead of a blank page you answer simple questions and end up with a publishable event page.
Where do I see how my event is doing?
The at-a-glance stats at the top of your dashboard show tickets sold, revenue, and orders, updating automatically as sales come in. For a deeper look, open the event and go to the Reports tab to view attendees, orders, and payouts, or export clean records.
Related reading
- Go from zero to a live event in 15 minutes with the setup wizard
- Member accountability: see who’s actually selling
- Team roles: admins, door staff, and board access explained
The bottom line
Your event organizer dashboard is just three things wearing a fancy coat: your stats up top, your events in the middle, and the workspace tools inside each one. Add the optional app for event day and automated report emails for your board, and you’ve got the whole picture. There’s no wrong button to click — so go explore.
Ready to make yourself at home? Create your event and take the dashboard for a spin, or book a quick demo and we’ll walk the whole thing with you.

Raise More Money With Less Stress.
Sell more tickets. Stay in control. Built for organizations that move the community.
Start selling tickets →