
You have a date in mind, a venue half-booked, and a community waiting to show up. What you don’t have is a web developer, a graphic designer, or a free weekend to wrestle with software. Good news: you don’t need any of that. Here’s how to go from a blank screen to a polished, branded event page you can share anywhere — in about 15 minutes.
The EventPassHero event creation wizard walks you through it stage by stage. No guessing what comes next, no half-finished settings buried in a menu somewhere. Just answer the questions in order, and at the end you have a real, live event page at a URL you can drop into your Instagram bio, a group text, or a flyer. Let’s walk through it together.
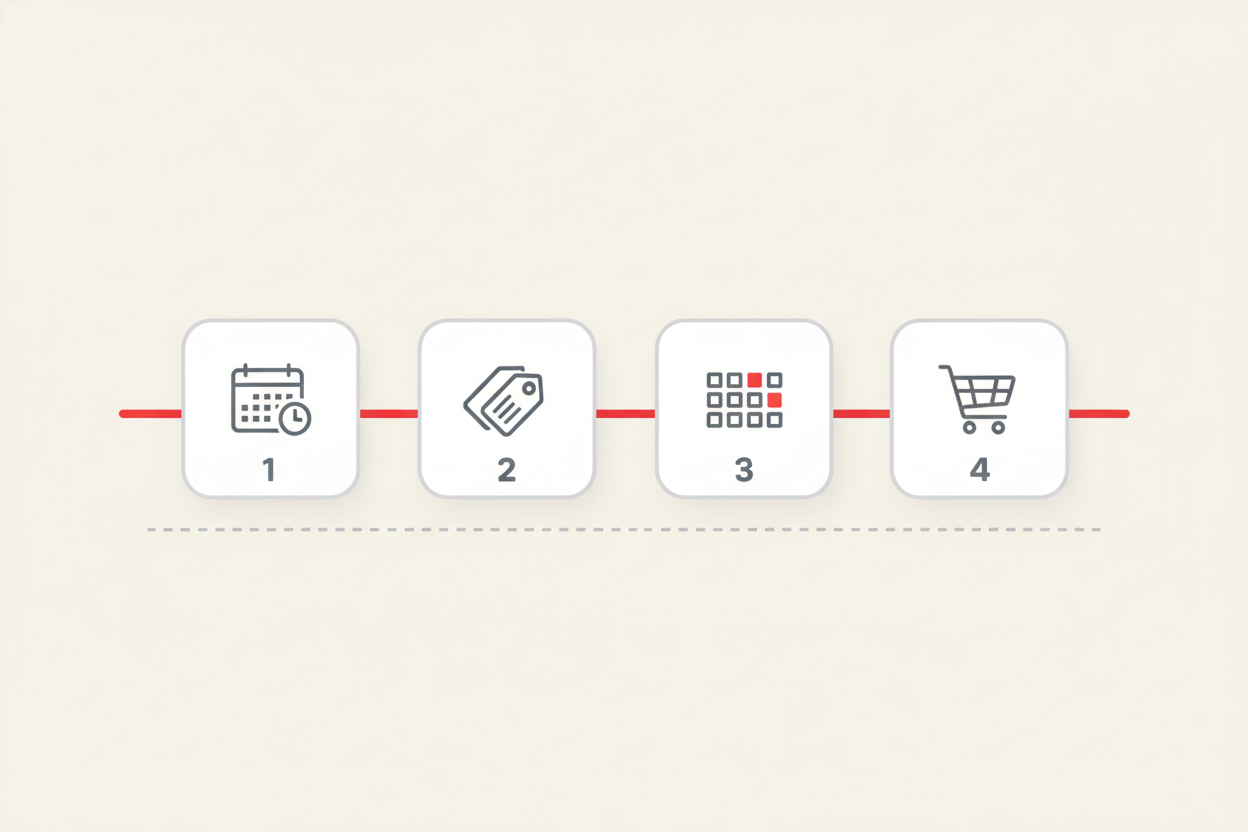
You don’t build the page. You answer a few questions, and the page builds itself.
Step 1: Start with the basics
Every event begins with three simple things: name, date, and venue. Type in what you’re calling the event, when it’s happening, and where. That’s the foundation — and it’s the part that takes the least time. From here, the wizard already knows enough to start shaping your page.
No naming conventions to learn, no required fields you don’t understand. If you can fill out the top of a flyer, you can clear Step 1.
Step 2: Make it look like your event
This is where most platforms make you feel like a guest on someone else’s website. EventPassHero does the opposite. Upload your logo, pick your brand colors, and drop in a hero banner up top. Add a gallery of past-event photos so people can feel the energy of last year’s turnout, and write a description in your own voice.
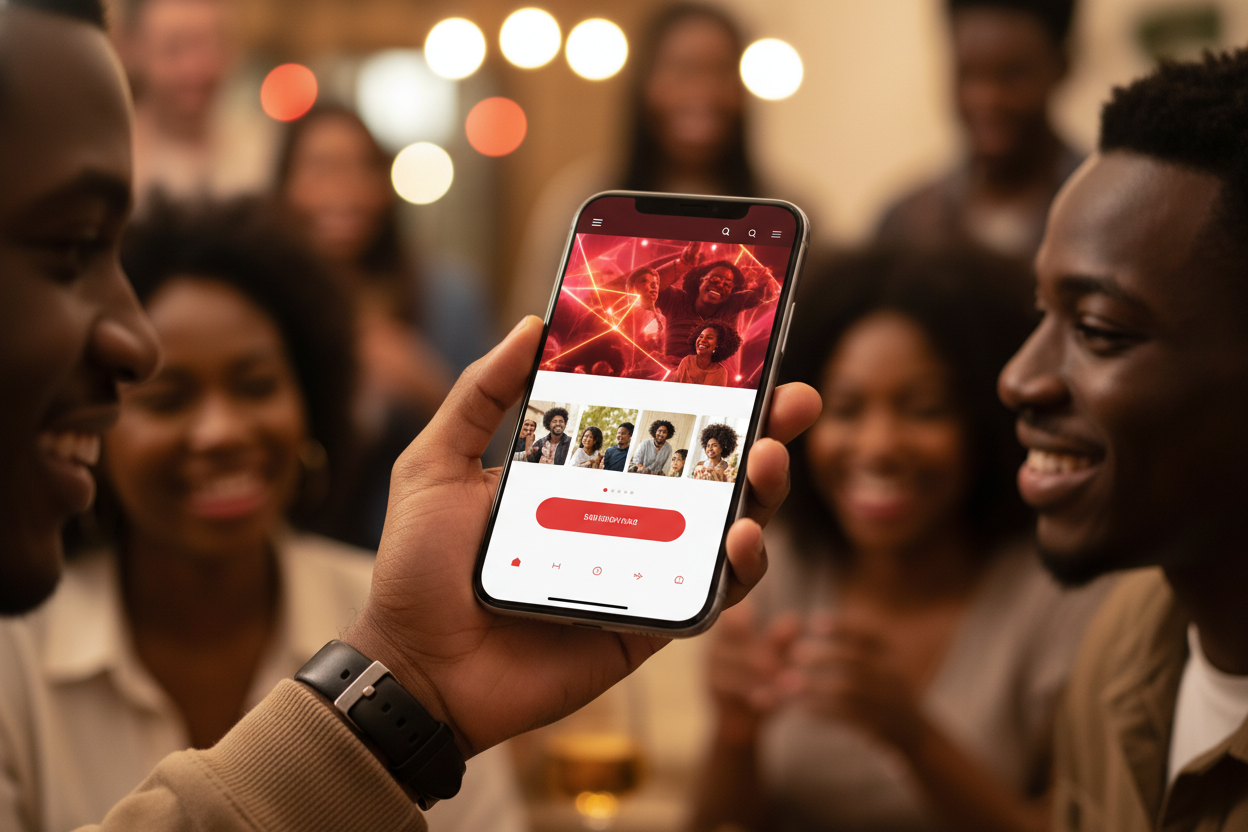
When you’re done, the page reads as your event — your colors, your photos, your story — not a generic vendor template with your name pasted on top. That matters. People buy from organizations they recognize and trust, and a branded page is the first signal that this is the real thing.
Step 3: Set up your ticket types
Here’s where the wizard flexes. Create as many ticket types as your event needs, and give each one its own rules. Think General Admission, VIP, Early Bird, Members-Only, Couples, Table bundles, Sponsor, and Vendor Booth — whatever fits the way your event actually works.
Each ticket type gets its own controls:
Price per ticket Quantity cap Sale window open & close Per-buyer limit
That means Early Bird can quietly close on its own date, VIP can cap at 50 seats, Members-Only can hold its own count, and no single buyer can scoop up more than you allow. You set the rules once and the wizard enforces them for you.
Step 4: Add seating (only if you need it)
Hosting a seated gala, a banquet with assigned tables, or a theater-style program? Add an interactive seat or table map so buyers can pick exactly where they sit. Running a general-admission day party or a standing-room mixer? Skip this step entirely. Seating is optional by design — powerful when you need it, invisible when you don’t.
Step 5: Stack on add-ons and upsells
The ticket is rarely the whole story. The wizard lets you layer in extras that grow each order and give your guests more of what they want:
Merch
Sell shirts, hats, or event swag right alongside the ticket.
Parking
Offer reserved or prepaid parking at checkout.
Meal upgrades
Let guests choose a premium plate or dietary option.
After-party access
Add a late-night add-on for the people who want more.
And because so many of our organizations are raising money for a cause, you can add a donation option too — so supporters who can’t attend, or who simply want to give more, have a clear way to do it.
Step 6: Set up checkout, then preview before you go live
Next, the wizard helps you configure checkout — how buyers pay and what information you collect from them. Then, before anything goes public, you get a preview. This is your dress rehearsal: see exactly what your guests will see, click through it on your phone, and make sure every detail looks right.
Only when you’re happy do you hit publish. No surprises, no “wait, that’s not how I wanted it to look” after the flyer’s already out.
Step 7: Go live
That’s it. In about 15 minutes, with no development or design skills, you’ve gone from a blank screen to a branded, ticket-ready event page at a shareable URL. Post it, text it, print it on a flyer — wherever your people are, that’s where your link goes.
What about getting paid?
Here’s the part that takes the pressure off: you don’t need a credit card to build your first event. You can create the whole thing — branding, tickets, seating, add-ons, preview — for free, just to see how it feels. When you’re ready to actually accept paid sales, you connect your payouts through Stripe, and that setup only happens at the moment you choose. Build first, monetize when you’re ready.
Built for the way you actually run events
The wizard isn’t generic software with a community sticker on it. It’s shaped around how fraternities, sororities, alumni chapters, nonprofits, and promoters really operate — members-only ticket types, table bundles for the gala, sponsor and vendor tiers, donations for the cause, and branding that makes the page unmistakably yours. Every step exists because an organization like yours needed it.
The bottom line
You don’t need to be technical to look like you are. The event creation wizard takes you from idea to a live, branded, shareable event page in about 15 minutes — name and date, your colors and photos, the exact ticket types you want, optional seating, add-ons that grow every order, a preview to catch anything off, and then live. No developer. No designer. No website. No credit card to start.
Ready to see your event come to life? Start building your event — it’s free to create, and you only set up Stripe when you’re ready to sell. Want a guided run-through? Book a quick demo and we’ll build it with you, step by step.
Raise More Money With Less Stress.
Sell more tickets. Stay in control. Built for organizations that move the community.
Start selling tickets →