
Add FAQs and Sponsors to Your Event Page
Finish your event page with the details that build trust and fill seats. The FAQ screen holds Q&A pairs that appear on your public event page — answers about what's included, dress code, parking, or your refund policy. The Sponsors screen showcases your partners' logos. Good answers mean fewer emails; sponsor logos mean recognition for them and credibility for you.
Add FAQs
- 1. Open your event and click FAQ under Edit Details.
- 2. Click + Add question and type the Question and Answer.
- 3. Use the ↑ / ↓ arrows to reorder, and Remove to delete a pair.
- 4. Click Save FAQ.
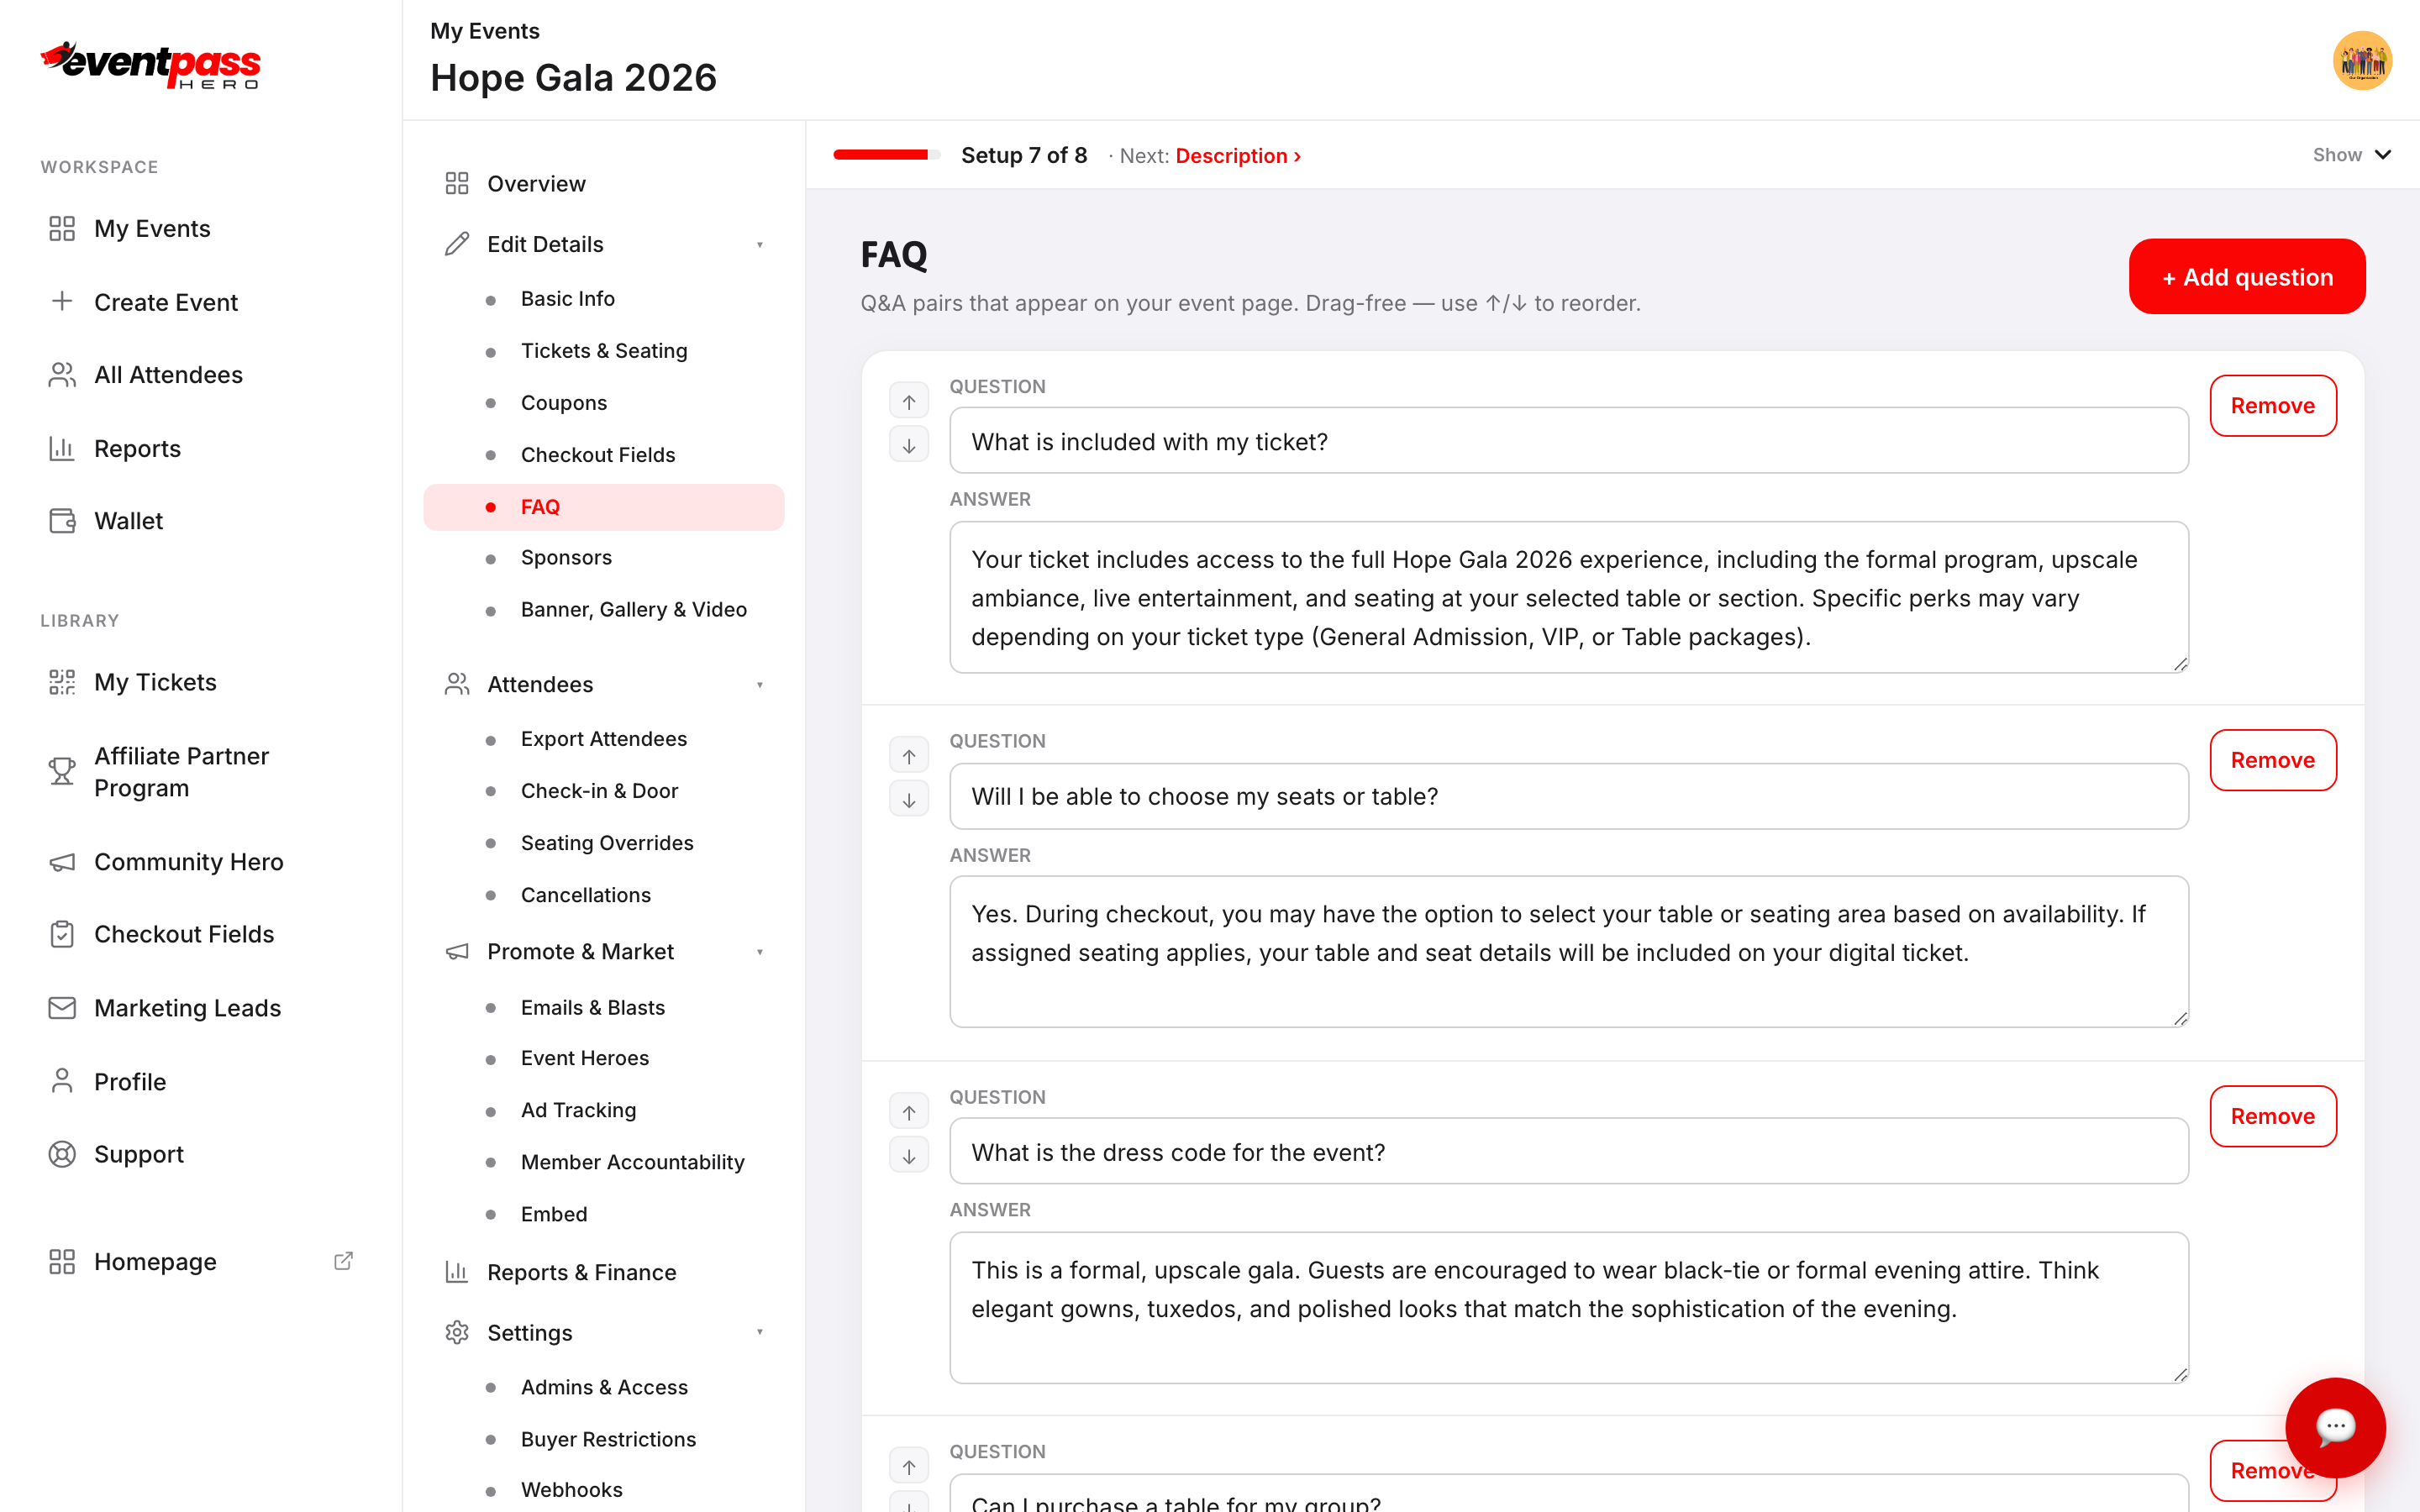
Answer the questions buyers actually ask before they buy: What's included with my ticket? Can I pick my seats or table? What's the dress code? Is there parking? What's the refund policy? Note that your Age requirement and Dress code from Basic Info also surface in the event page's FAQ section automatically.
Add sponsors
- 1. Click Sponsors in the sidebar.
- 2. Click + Add sponsor.
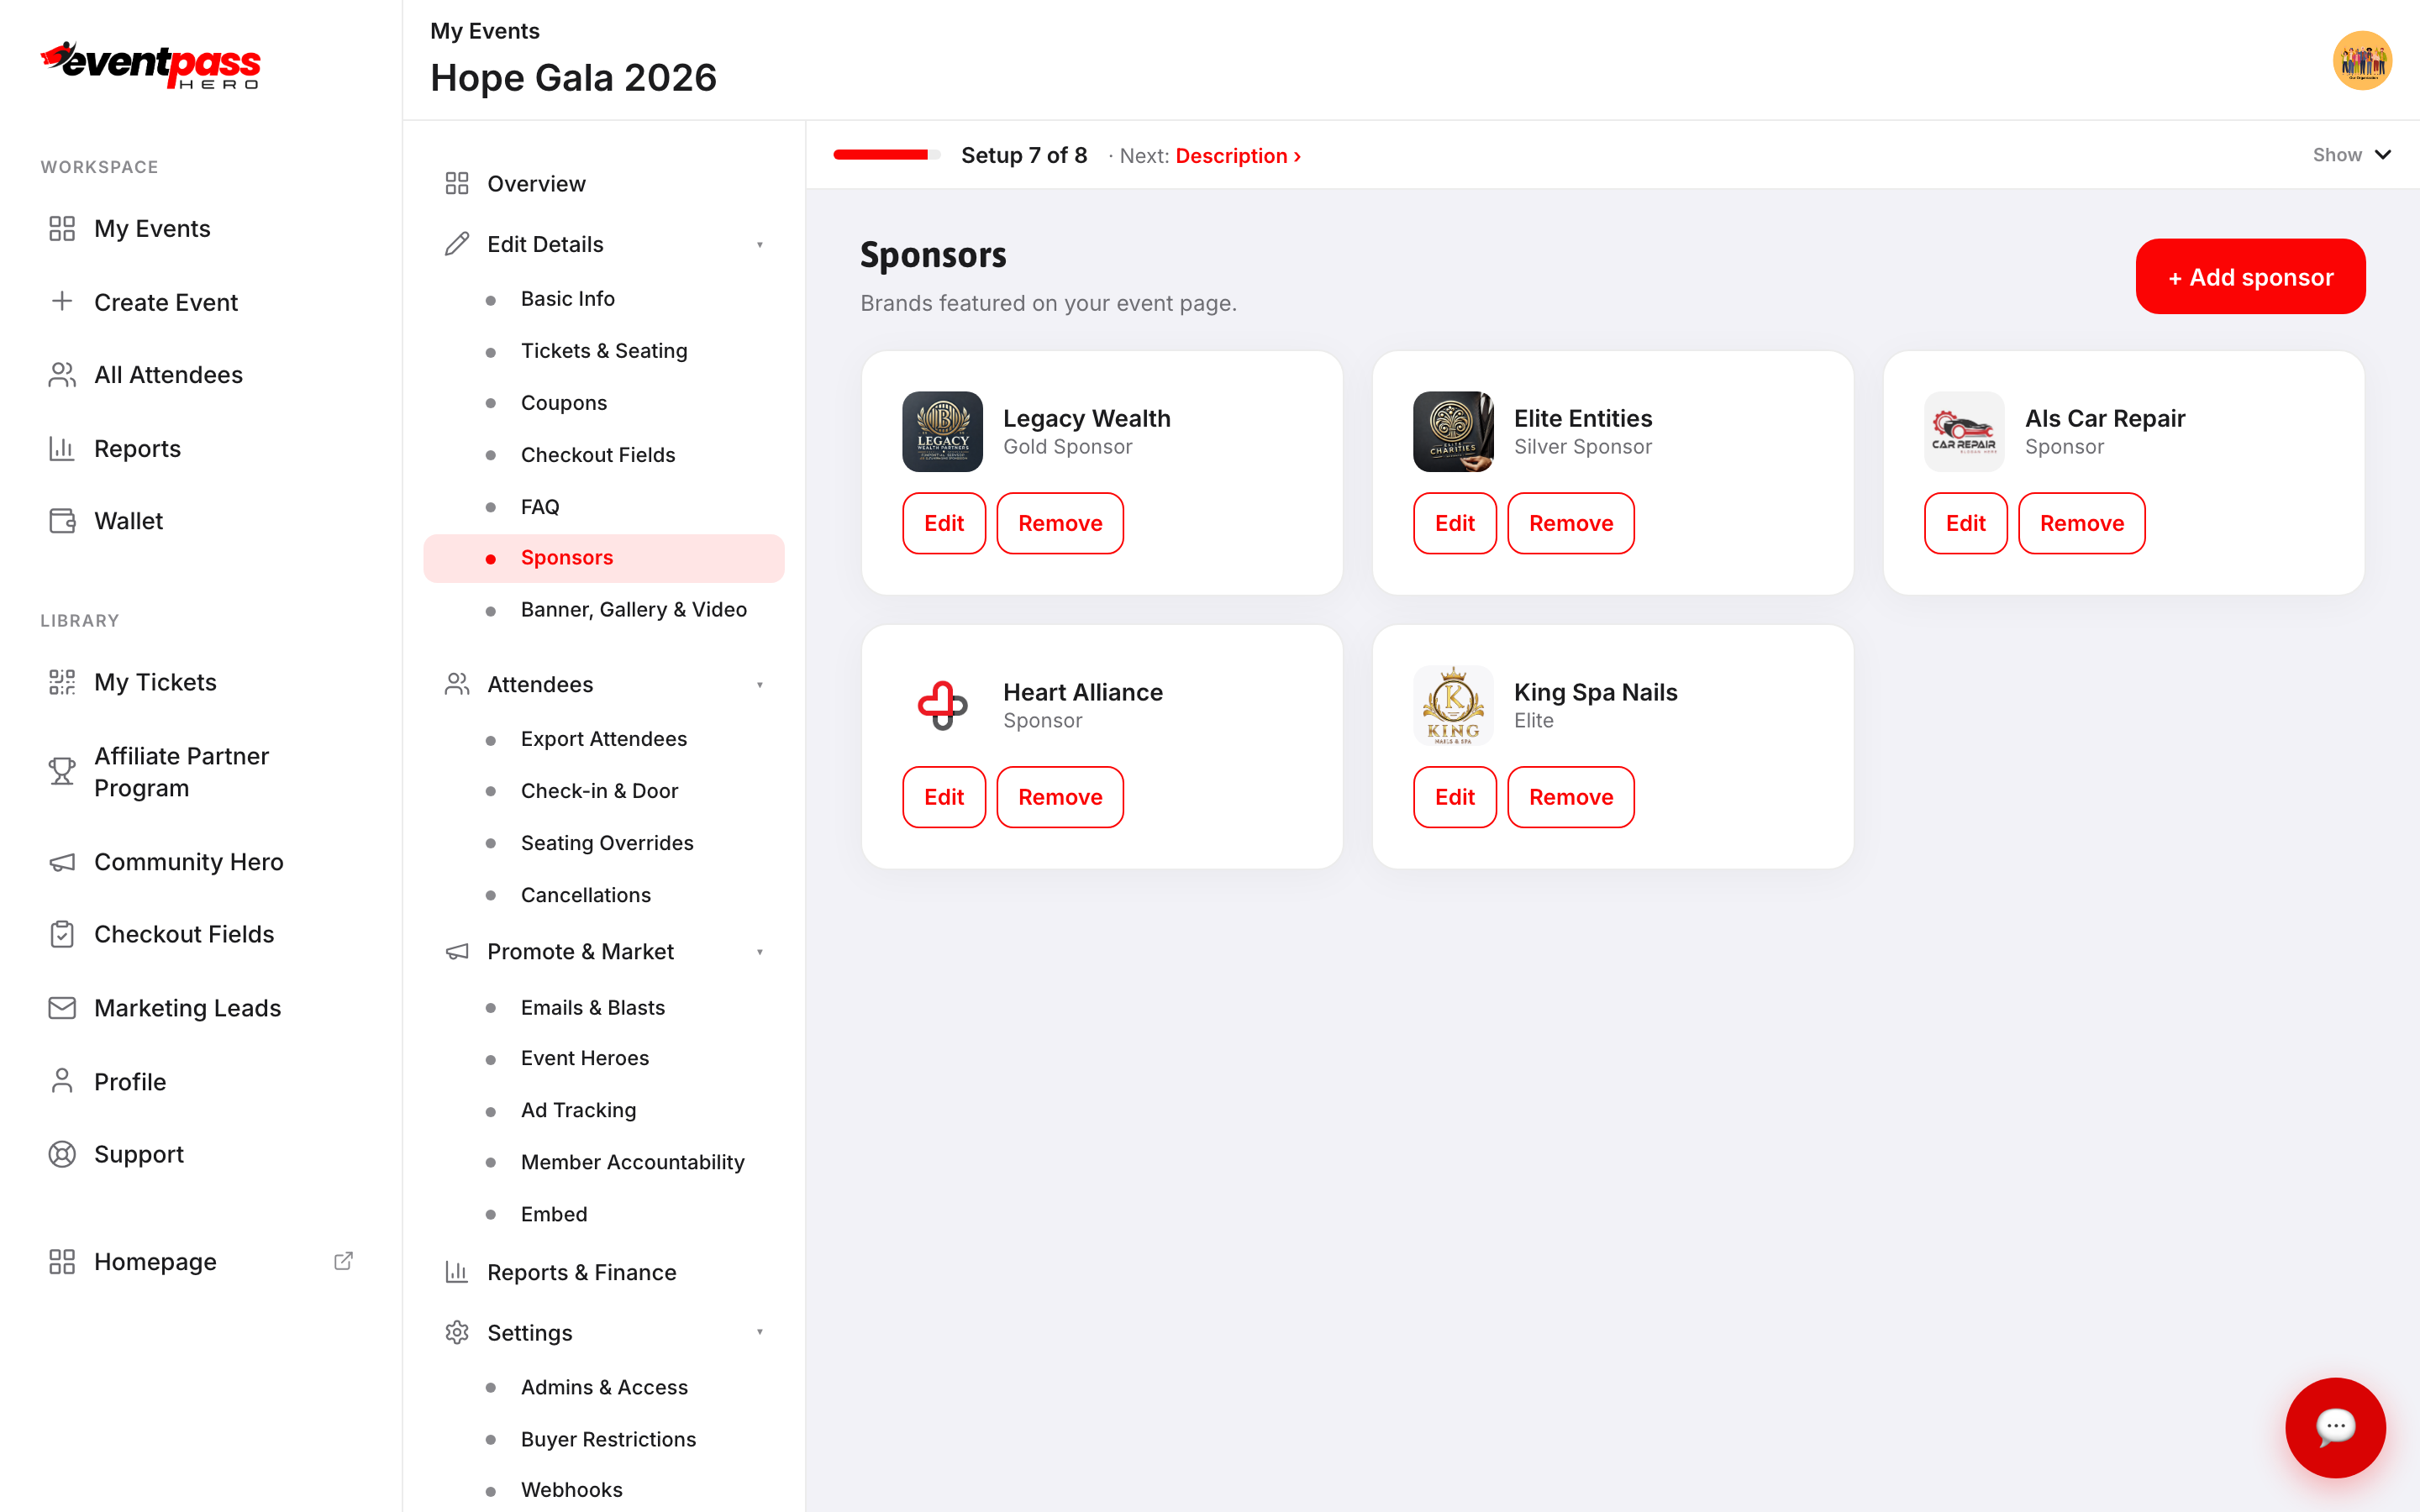
- 3. In the New sponsor dialog, enter the Sponsor name, an optional Tier label (for example Platinum, Gold, Silver), and the Logo — upload an image or paste an image URL.
- 4. Click Add sponsor. Repeat for each partner; Edit or Remove any sponsor later.
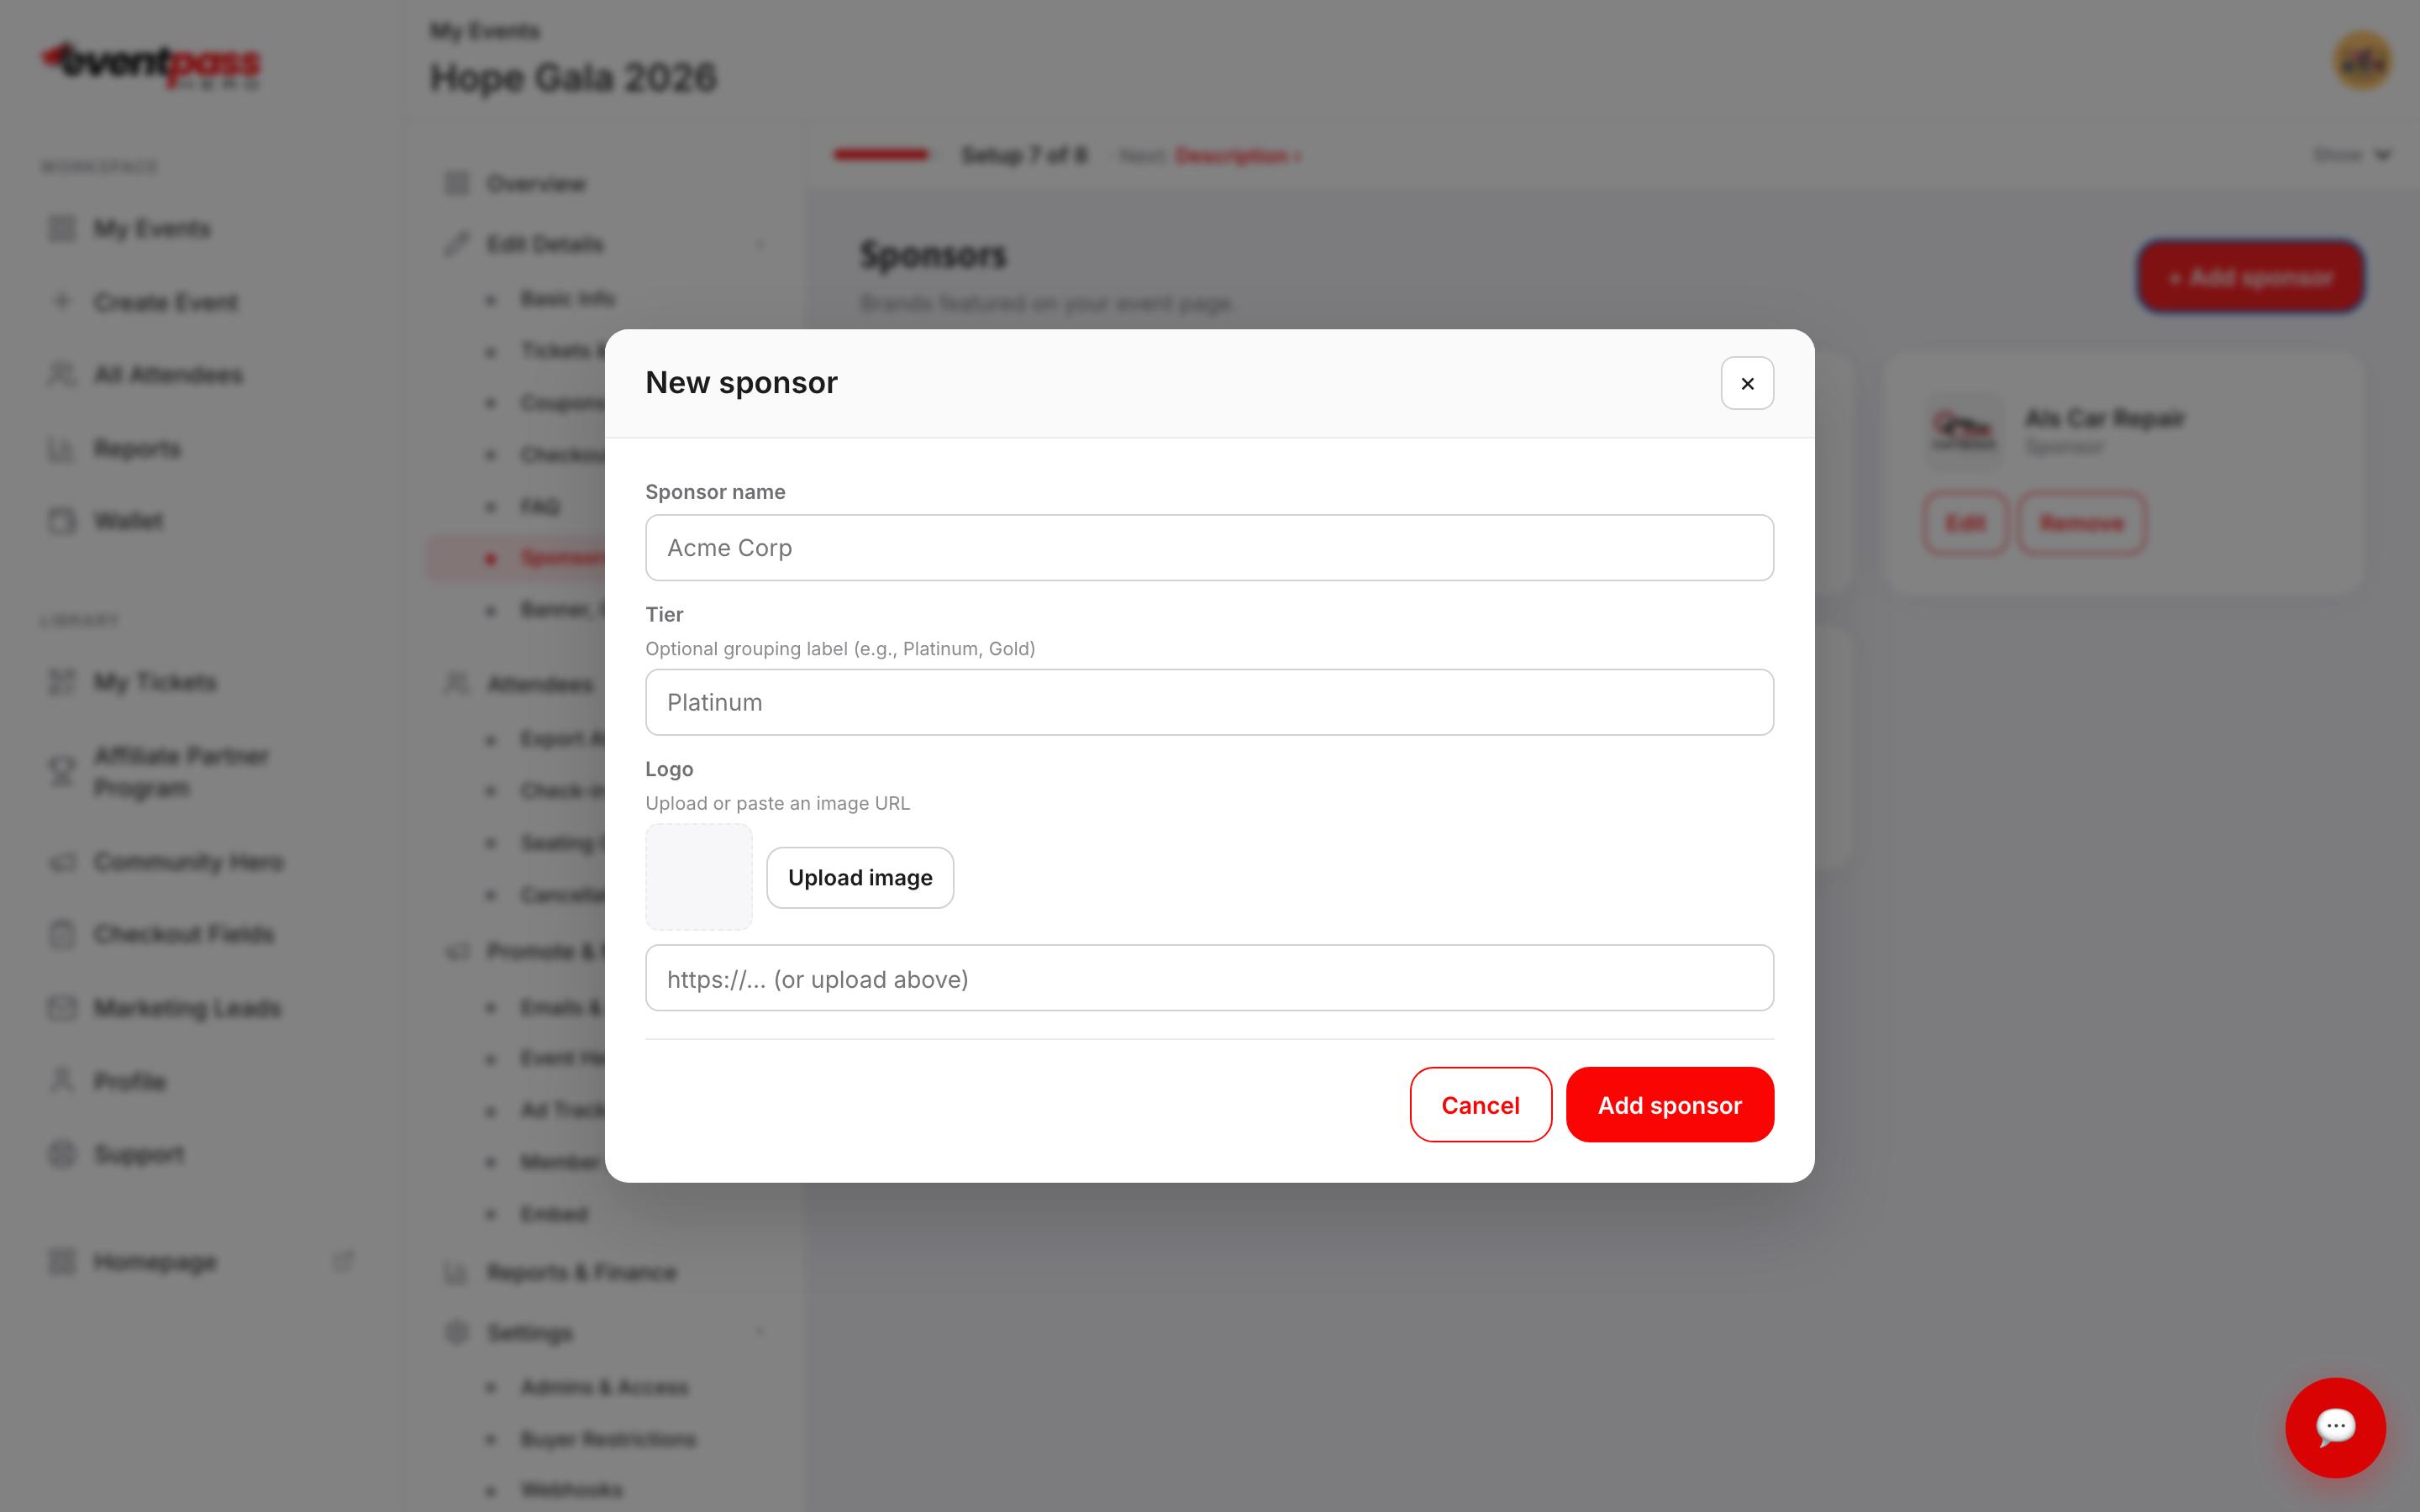
Sponsor logos appear together on your public event page with their tier labels — an easy deliverable to include in your sponsorship packages.
Troubleshooting
- A FAQ isn't showing on the event page — empty pairs are skipped; make sure both the question and answer have text, and click Save FAQ.
- A sponsor logo looks blurry — upload a larger, square-ish logo image; small images are scaled up.
- You need sponsors in a specific order — sponsors display in the order listed; remove and re-add, or edit, to arrange the lineup you want.
Last updated 2026-08-14 · All FAQs & video tutorials